How to test Reactive Angular Forms (Step-by-step Guide)
The complete guide to testing reactive Angular forms.
It's actually simpler than you think.
Want to learn how to test reactive Angular forms?
Writing Angular tests is not hard at all. Anyone can do it. Unless you'd rather hire someone to write the Angular tests for you.

Here's what this guide to testing reactive Angular forms is all about.
- Discover the best practices and tips for testing reactive Angular forms.
- Create a reactive Angular form and write your first test.
- Learn how to test a contact form.
- Learn how to test a login form.
If you're smart (and anyone reading a post on reactive Angular forms is no doubt smokin-smart) then you've got to admit that you'll get the most out of this guide by actually pulling out your code editor and following along.
So... I'll wait around a bit till you're ready.
No worries. Go ahead and get your tools ready. I'm not in any rush.
Ready?
Got your coding tools open?
And that terminal window ready?
Then let's get started.
General Concepts
How do you test a reactive Angular form?
And more importantly, how do you do it well?
How do you write great tests for a reactive Angular form?
An ordinary scenario would be a reactive form that triggers a submit function. Our submit function then likely calls some sort of service that was injected into the component to either send data to a server or something similar.
So, when testing reactive Angular forms we can do our job well by focusing on two things.
- Testing data validation. We want to make sure the data in the form has to be valid before the form can be submitted.
- Making sure our form data is being sent to the proper place. More on this later.
Why overdo something? And write tests that will only trip us later?
And now that we know what to test let's learn how to test reactive Angular forms.
1. Generating the Angular project
We'll begin by using the Angular CLI to create a new Angular application.
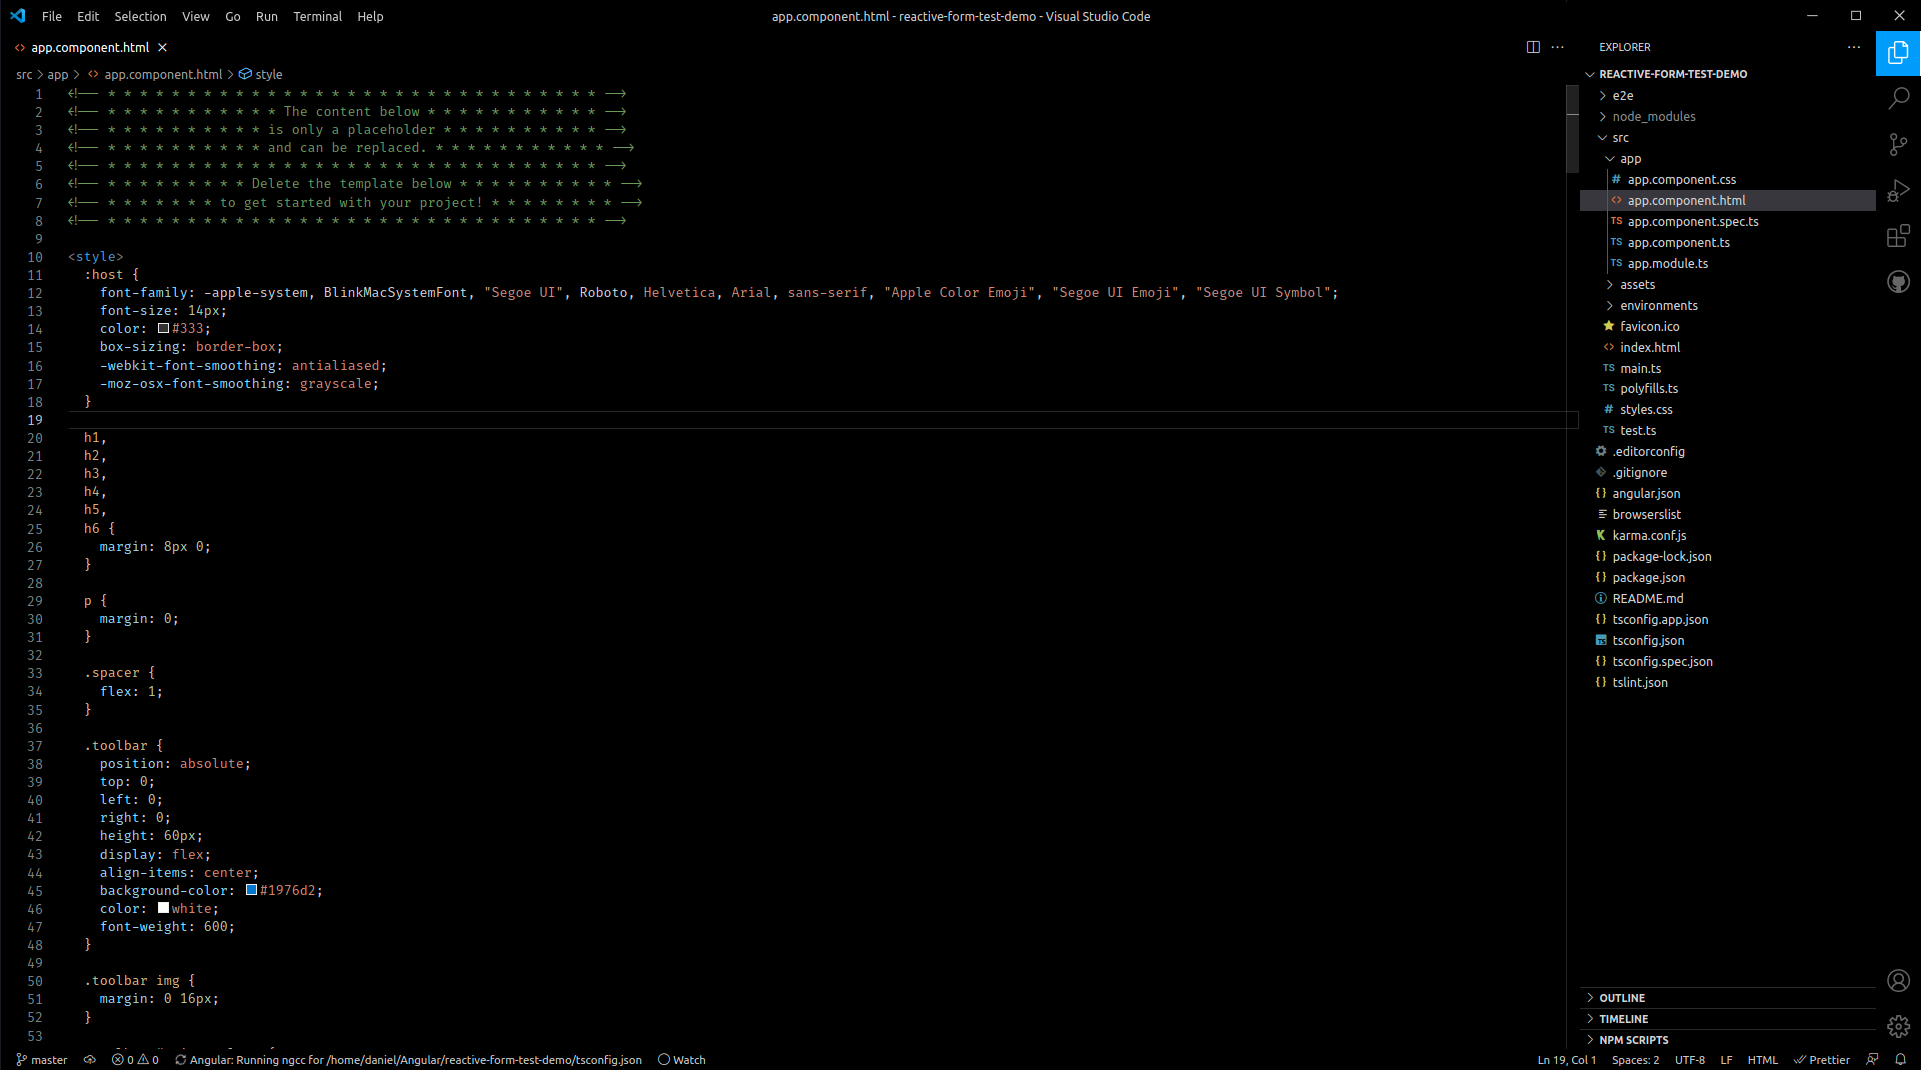
ng new reactive-form-test-demoIf you open it up in Visual Studio Code, you'll see a brand new Angular application.

2. Creating our demo contact form
The next step will be to create a simple contact form. Here's the command we'll use.
ng generate component contact-formOr if you like to save time and avoid wearing down your finger tips then you can use shorthand instead.
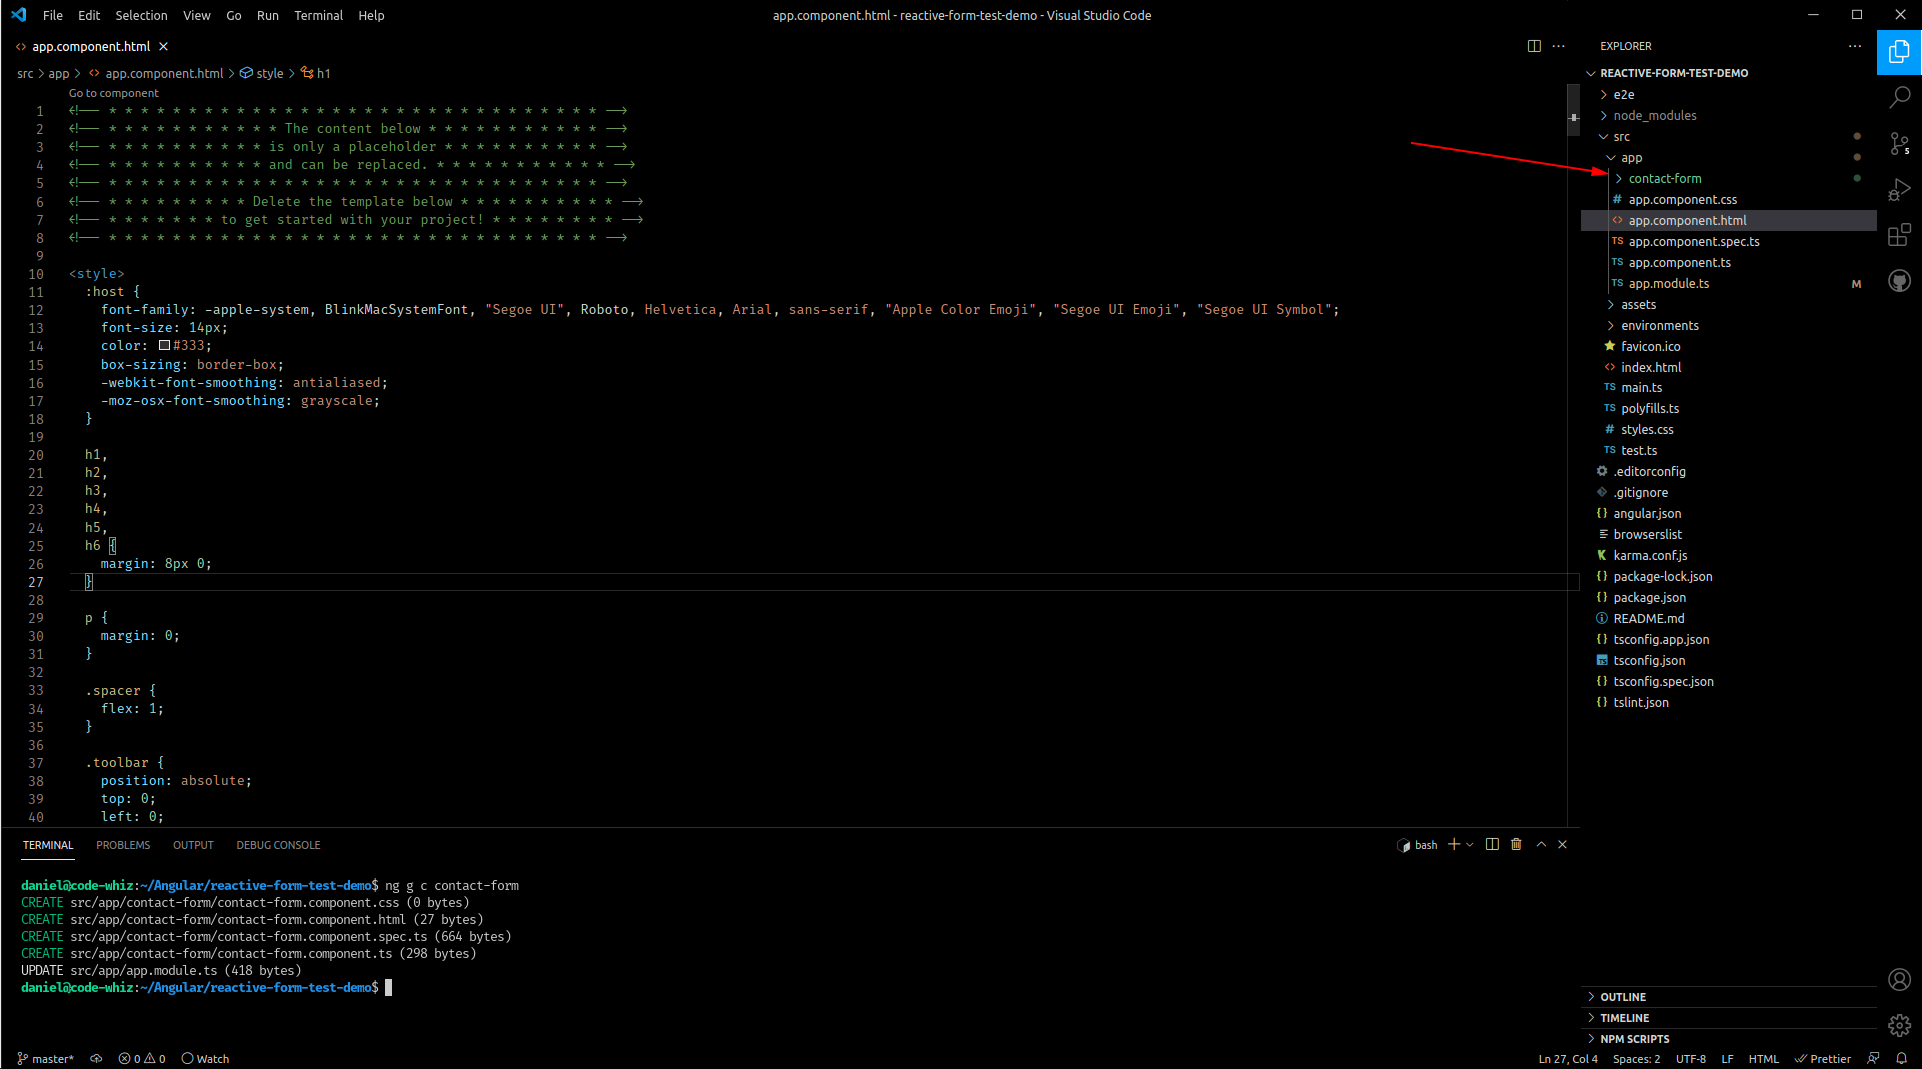
ng g c contact-formThe new Angular component will appear in its own folder.

Toots! We're on a roooool.
Now we need to declare our contact form group inside the templates Typescript file. And also set up our submit function.
import { Component } from '@angular/core';
import { FormControl, FormGroup, Validators } from '@angular/forms';

@Component({
  selector: 'app-contact-form',
  templateUrl: './contact-form.component.html',
  styleUrls: ['./contact-form.component.css']
})
export class ContactFormComponent {

  contactForm = new FormGroup({
    name: new FormControl('', Validators.required),
    email: new FormControl('', [Validators.required, Validators.email]),
    message: new FormControl('', [Validators.required])
  });

  constructor() { }

  sendMessage(): void {
    if (this.contactForm.invalid) {
      return;
    }

    var name = this.contactForm.get("name").value;
    var email = this.contactForm.get("email").value;
    var message = this.contactForm.get("message").value;

    // TODO: Send a message to my aunt's nephew's brother's sister-in-law's husband in North Korea.
  }

}
Then we'll sprinkle the component's CSS file with some styles.
input,
select,
textarea,
button {
  width: 100%;
  padding: 12px;
  border: 1px solid #ccc;
  border-radius: 4px;
  box-sizing: border-box;
  margin-top: 6px;
  margin-bottom: 16px;
  resize: vertical;
}

input[type="submit"] {
  background-color: #04aa6d;
  color: white;
  padding: 12px 20px;
  border: none;
  border-radius: 4px;
  cursor: pointer;
}

input[type="submit"]:hover {
  background-color: #45a049;
}

.container {
  border-radius: 5px;
  background-color: #f2f2f2;
  padding: 20px;
}
And last of all, here's the HTML for our component.
<div class="container">
  <form [formGroup]="contactForm">
    <label for="name">Name</label>
    <input type="text" id="name" formControlName="name" />

    <label for="email">Email</label>
    <input type="email" id="email" formControlName="email" />

    <label for="message">Message</label>
    <textarea
      id="message"
      style="height: 200px"
      formControlName="message"
    ></textarea>

    <button type="submit" value="Submit" [disabled]="this.contactForm.invalid" (click)="sendMessage()">Send Message</button>
  </form>
</div>
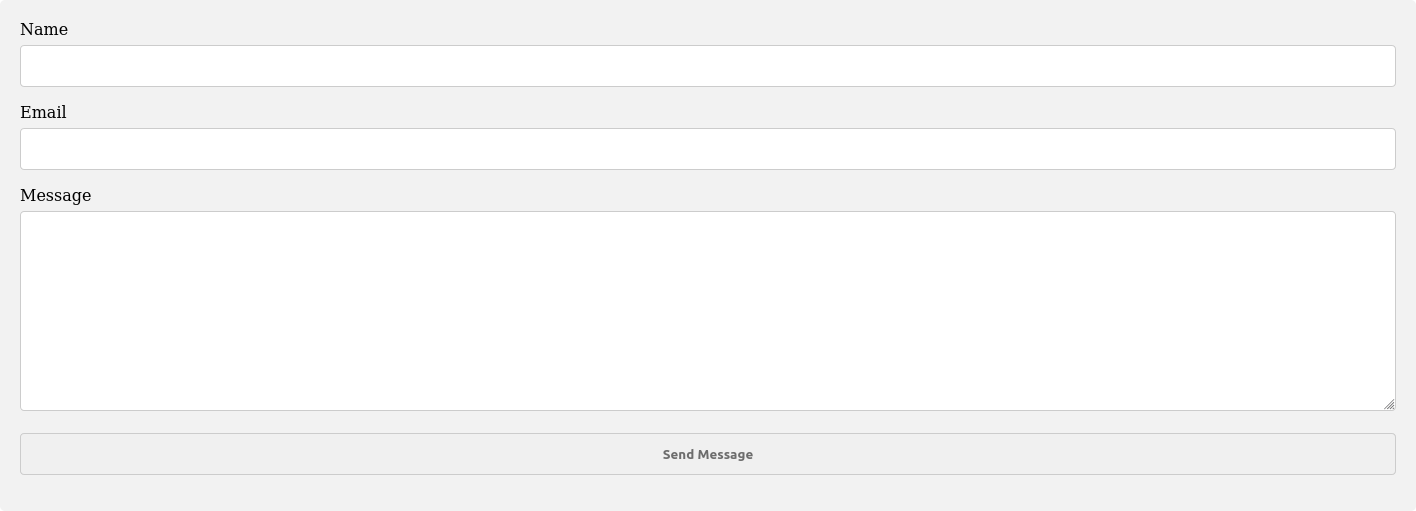
If you run your Angular application you should see a form like the one below.

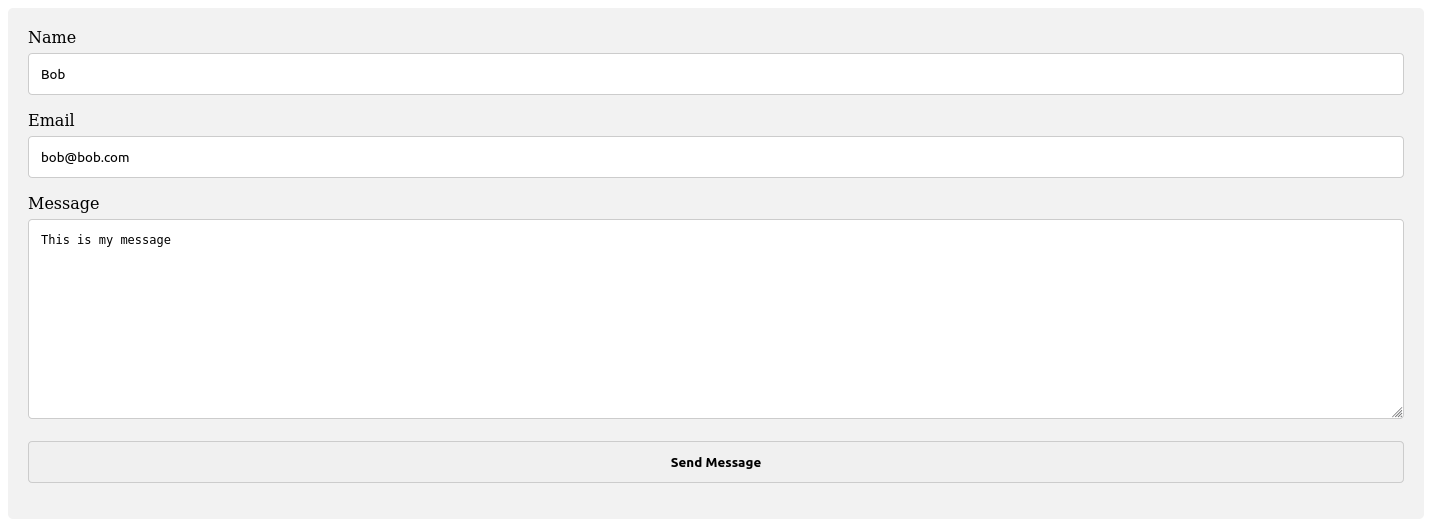
And once we give it the required data, the submit button will become clickable.

WOO!
Our contact form is ready for the tests.
3. Writing your first tests
If you open the contact-form.component.spec.ts file you should find something like this.
import { async, ComponentFixture, TestBed } from '@angular/core/testing';

import { ContactFormComponent } from './contact-form.component';

describe('ContactFormComponent', () => {
  let component: ContactFormComponent;
  let fixture: ComponentFixture<ContactFormComponent>;

  beforeEach(async(() => {
    TestBed.configureTestingModule({
      declarations: [ ContactFormComponent ]
    })
    .compileComponents();
  }));

  beforeEach(() => {
    fixture = TestBed.createComponent(ContactFormComponent);
    component = fixture.componentInstance;
    fixture.detectChanges();
  });

  it('should create', () => {
    expect(component).toBeTruthy();
  });
});
This was automatically generated by the Angular CLI when we created the component.
How about we begin with a test that makes sure our contact form cannot be sent if the email address given us is not valid?
It's easier then you think.
it('should require valid email', () => {
    component.contactForm.setValue({
      "name": "",
      "email": "invalidemail",
      "message": ""
    });

    expect(component.contactForm.valid).toEqual(false);
  });
What did we just do?
First, we set the value of our form with the help of the setValue(...) function.
And then we expected the contact form to be invalid.
It's not complicated at all.
What about checking for a valid state?
Here's the sauce.
it('should be valid if form value is valid', () => {
    component.contactForm.setValue({
      "name": "Bobby",
      "email": "bobby@bobby.com",
      "message": "Email me a soda, please."
    });

    expect(component.contactForm.valid).toEqual(true);
  });
And that, my friend, is how you test reactive Angular forms.
It's pretty easy to do.
4. How to test a login form
Let's say we've got a login form with an HTML template like this.
<div class="container">
  <form [formGroup]="loginForm">
    <label for="name">Email</label>
    <input type="email" id="name" formControlName="email" />

    <label for="password">Password</label>
    <input type="password" id="password" formControlName="password" />

    <button
      type="submit"
      value="Submit"
      [disabled]="this.loginForm.invalid"
      (click)="login()"
    >
      Login
    </button>
  </form>
</div>
And a Typescript file like this.
import { Component } from '@angular/core';
import { FormControl, FormGroup, Validators } from '@angular/forms';
import { AuthService } from '../auth-service.service';

@Component({
  selector: 'app-login-form',
  templateUrl: './login-form.component.html',
  styleUrls: ['./login-form.component.css']
})
export class LoginFormComponent {

  loginForm = new FormGroup({
    email: new FormControl('', [Validators.email, Validators.required]),
    password: new FormControl('', Validators.required)
  });

  constructor(private authService: AuthService) { }

  login(): void {
    if (this.loginForm.invalid) {
      return;
    }

    let email = this.loginForm.get('email').value;
    let password = this.loginForm.get('password').value;

    this.authService.login(email, password).subscribe(() => {
      // go to home page
    });
  }

}
Notice we're calling an authentication service and then if that succeeds we will redirect the user to the home page.
How do we test this?
We'll have to first create a service spy for our authentication service and configure our spy to return the expected values. Then, inside our test, we'll verify that our authentication service was called with the expected data.
Here's the entire test example.
import { async, ComponentFixture, TestBed } from '@angular/core/testing';
import { of } from 'rxjs';
import { AuthService } from '../auth-service.service';

import { LoginFormComponent } from './login-form.component';

describe('LoginFormComponent', () => {
  let component: LoginFormComponent;
  let fixture: ComponentFixture<LoginFormComponent>;

  let authServiceSpy = jasmine.createSpyObj('AuthService', ['login']);
  authServiceSpy.login.and.returnValue(of());

  beforeEach(async(() => {
    TestBed.configureTestingModule({
      declarations: [ LoginFormComponent ],
      providers: [
        {
          provide: AuthService, useValue: authServiceSpy
        }
      ]
    })
    .compileComponents();
  }));

  beforeEach(() => {
    fixture = TestBed.createComponent(LoginFormComponent);
    component = fixture.componentInstance;
    fixture.detectChanges();
  });

  it('should create', () => {
    expect(component).toBeTruthy();
  });

  it('should allow user to log in', () => {
    const formData = {
      "email": "something@somewhere.com",
      "password": "8938ndisn@din"
    };
    component.loginForm.setValue(formData);
    component.login();

    expect(authServiceSpy.login).toHaveBeenCalledWith(formData.email, formData.password);
  })
});
What about checking to make sure a user cannot log in if the form has invalid data?
it('should not allow user to log in', () => {
    const formData = {
      "email": "invalidemail",
      "password": "8938ndisn@din"
    };
    component.loginForm.setValue(formData);
    component.login();

    expect(component.loginForm.invalid).toEqual(true);
    expect(authServiceSpy.login).toHaveBeenCalledTimes(0);
  });
Conclusion
Testing reactive Angular forms is not hard to do.
And man-oh-man is sure gratifying to watch your tests succeed and your screen light up with a bunch of green reports!
Questions? Or comments? Please drop a note in the comment section below.

Angular Consultant
