How to deploy an Angular app - The Complete Guide for 2022
Here's how to deploy your Angular app to Azure, Firebase, Netlify and more.
Um...
What's the use of building an Angular app... if you're never going to deploy it to production???

One of Angular's cool features is the ability to deploy with one command - assuming your deploy tool(s) are properly configured and you've got an account with the desired cloud host.
In this article I'll teach you how to deploy your Angular app like a pro. I've included instructions for the large, cloud bosses like Azure and Firebase as well as the smaller options like Netlify.
I skipped AWS but if you're interested in helping Jeff Bezos make some more money than click here for more details.
Which cloud provider should I use to host my Angular project?
But before we get started maybe you're wondering which hosting service to use. The different choices to chose from can make it harder to decide which one you're going to use.
Well buster, it really depends on what you need.
If you already have an account with one of these cloud providers then I'd recommend sticking with one.
All of them have free plans, if that's what's important to you.
On the other hand, GitHub Pages is the easiest deploy option that I know of for Angular projects. It's so easy to deploy too and it's FREE.
But if you're looking for a larger or more professional option than Firebase, Netlify and Vercel are all a great choice.
How to Deploy an Angular app to Firebase Hosting
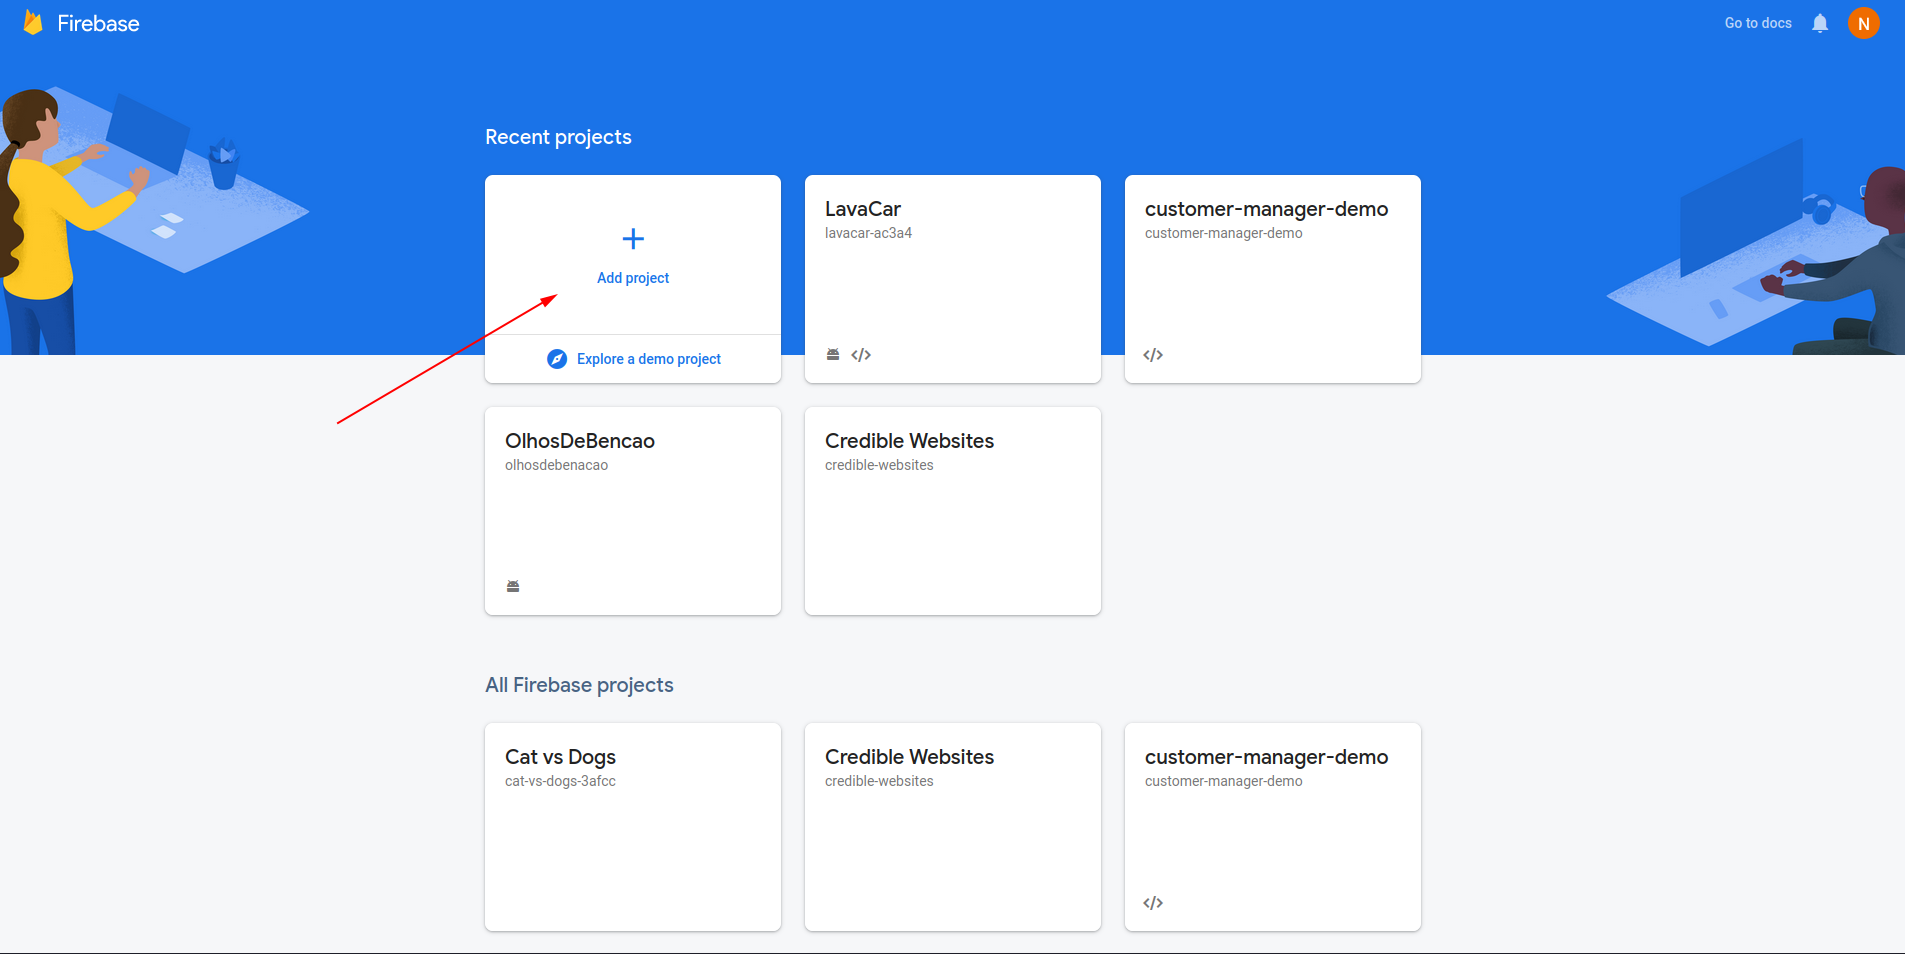
1. Create the project in your Firebase Console
If you've already created a new Firebase project then you can skip this step.
Otherwise, you'll need to log into the Firebase console and create a new project.
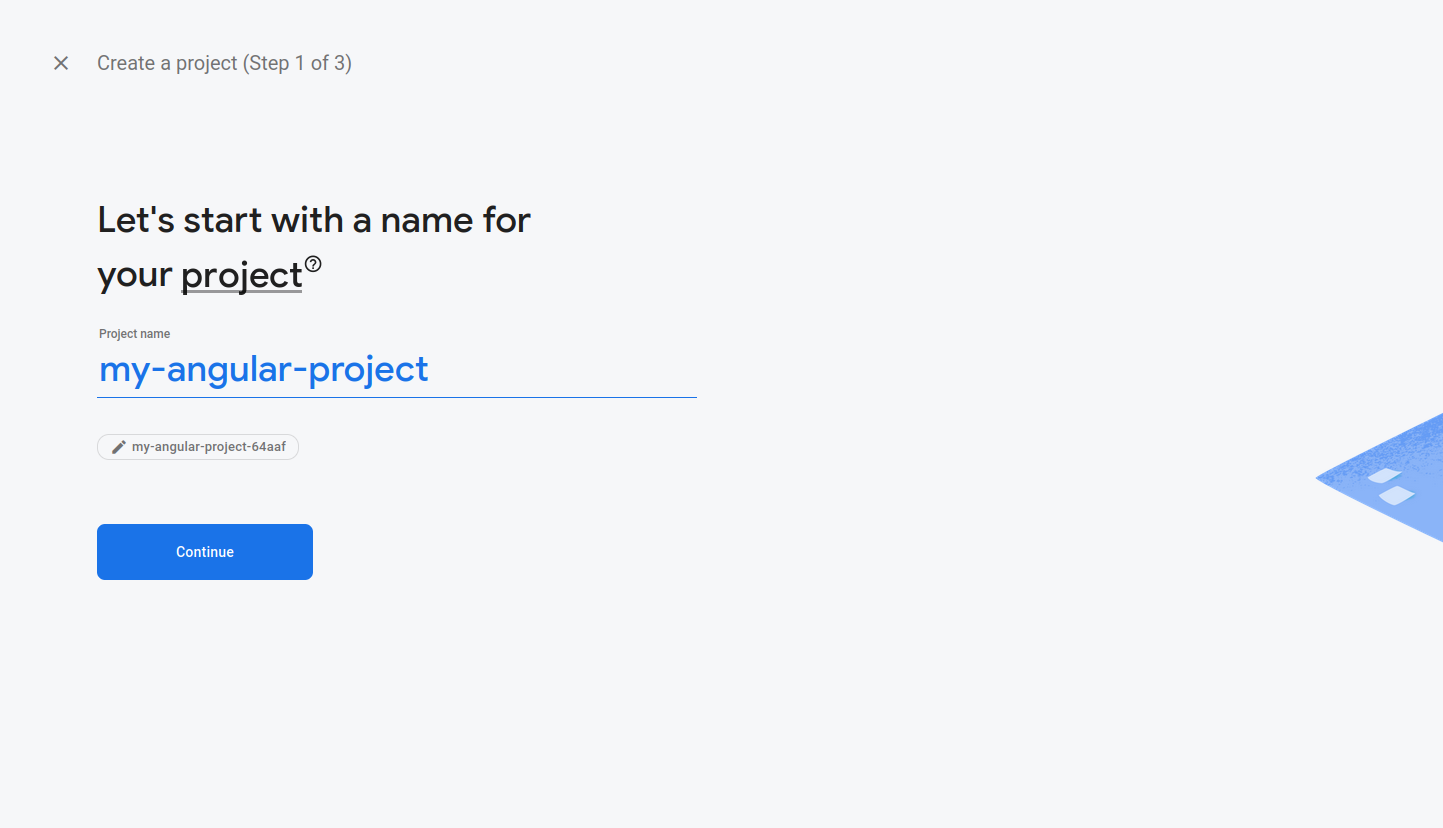
Next, give our project a name.
Maybe mickey-mouse? In case you're feeling uninspired.
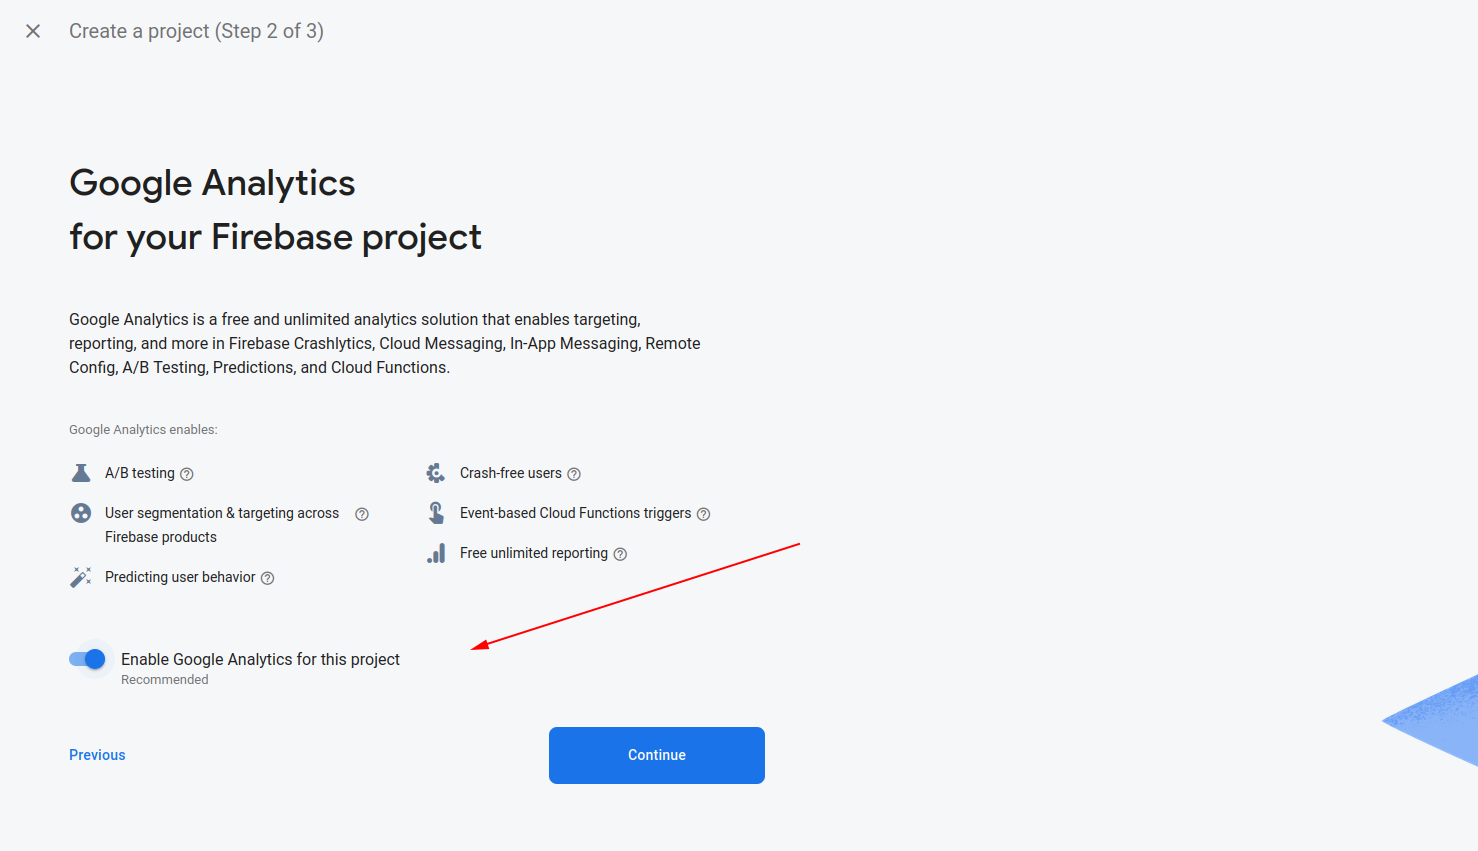
You'll be asked if you want to enable Google Analytics. You can set this to enabled or disabled - depends on what you want to do.
If you decide to use Google Analytics, you'll be prompted to choose your Google Analytics account.
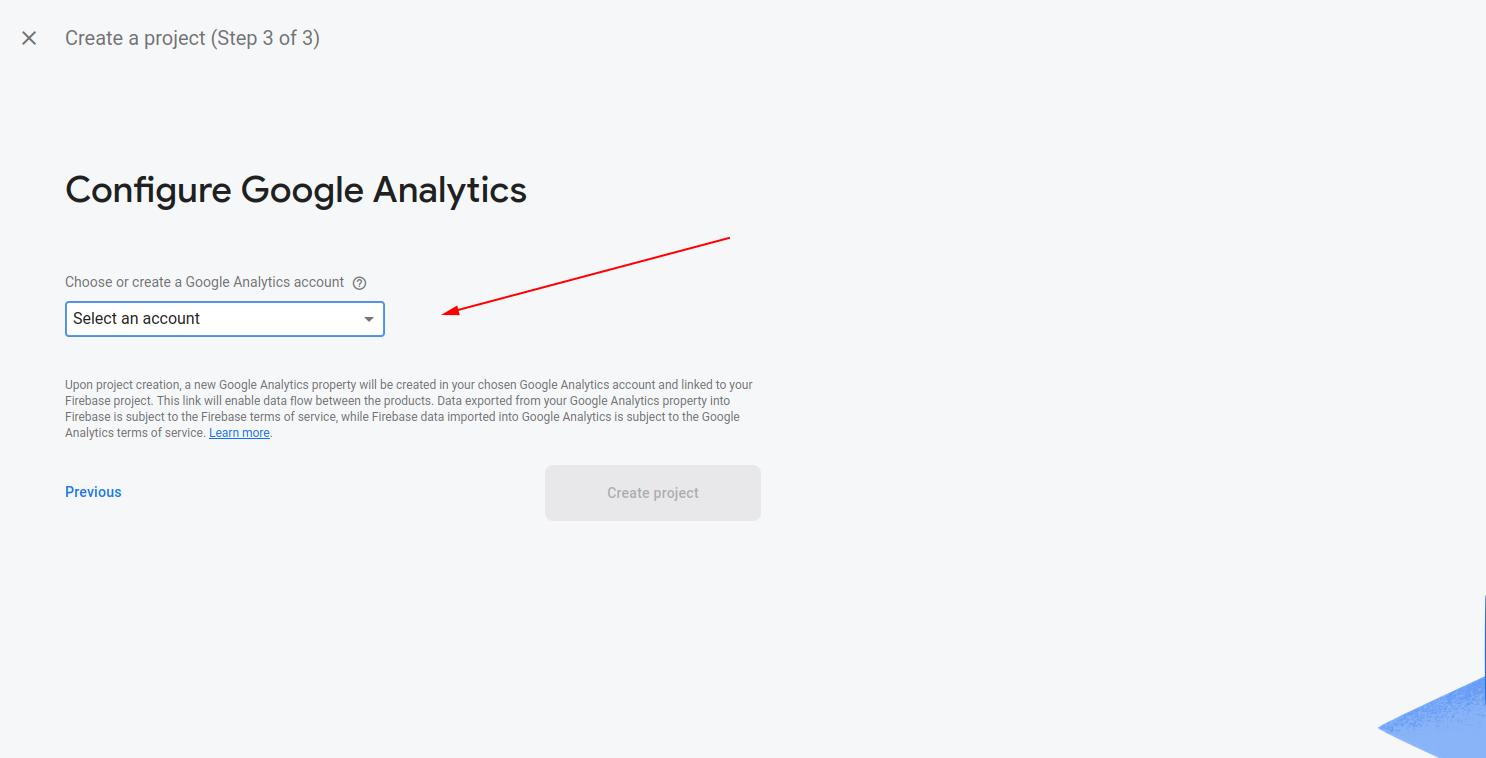
And finally, click "Create Project" and wait while it creates your new Firebase project.
2. Install the Firebase deploy tool
The next step is to install the Firebase CLI.
ng add @angular/fireOnce installed you'll be prompted to select the feature(s) that you'd like to set up.
In this case, pick the hosting option.
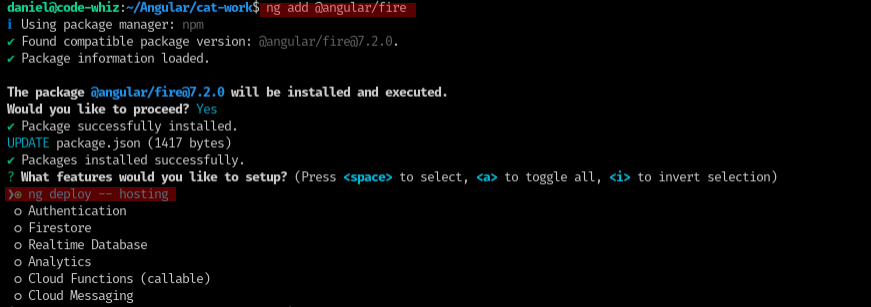
Next you'll be prompted to log into your Firebase account.
And once you've logged in, you'll be prompted to select your Firebase project.
Finally, it will ask you to select a hosting site.
You're set!
3. Deploy your Angular project to Firebase Hosting
Now, type the following command to build and deploy your Angular app to Firebase Hosting.
ng deploy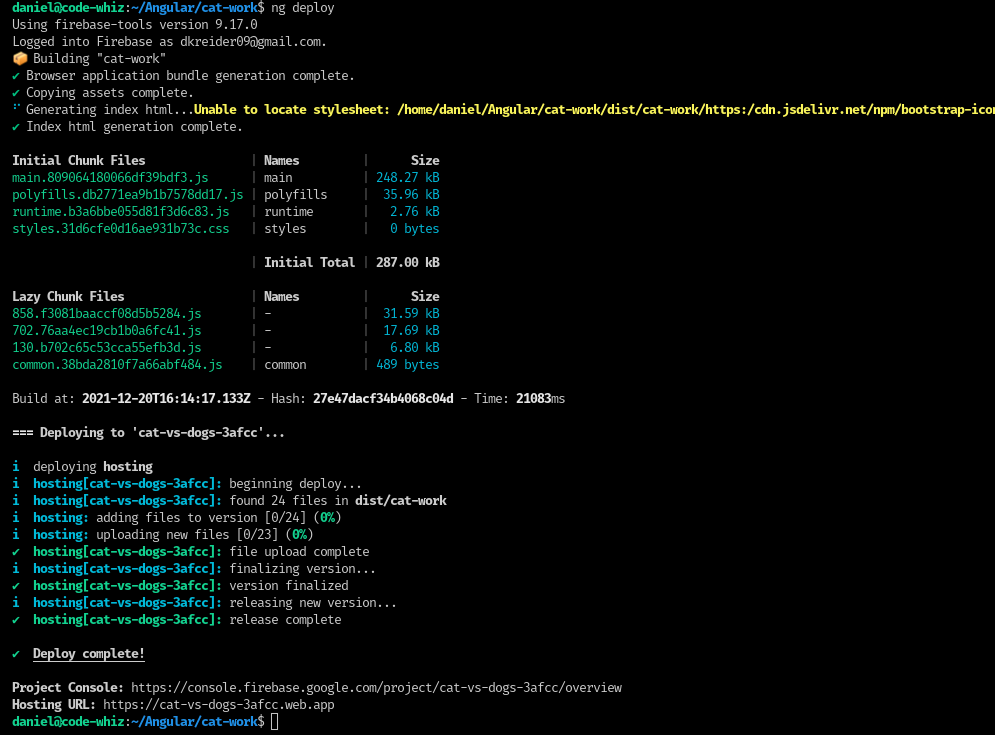
In case you want to use GitHub Actions to automatically deploy your Angular app to Firebase you can find out more here.
How to Deploy an Angular app to Azure
Before deploying to Azure you'll need to create your own Azure account. If you don't have an Azure subscription you can use this link to create your FREE Azure account.
The next step we'll take is to install the @azure/deploy package.
ng add @azure/ng-deployYou'll be prompted to sign in.

Follow the prompts in the browser to give the deploy tool access to your Azure account.
Once you successfully sign in, it will automatically create the needed resources in your Azure account and configure them for static hosting. This is a great feature for anyone who is mind-boggled by Azure's gazillion options.
And now run the ng deploy command to build and deploy your Angular app.
More details and configuration options can be found on the GitHub README.
How to Deploy an Angular app to Netlify
There are two keys that we need to grab before we install the Netlify deploy package.
- The API ID of the Netlify project
- A Netlify access token.
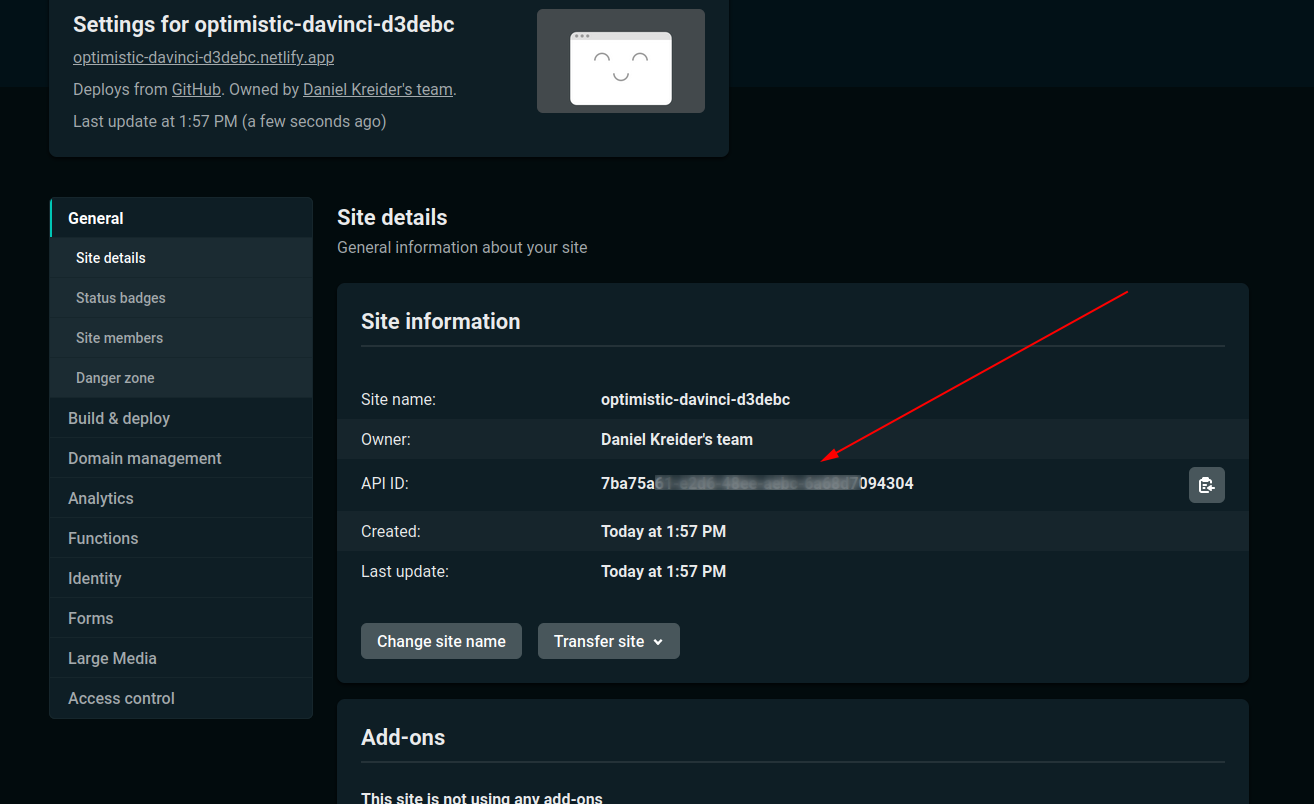
To get the API ID of your Netlify project you'll need to navigate to your project -> Site Settings -> General -> API ID.
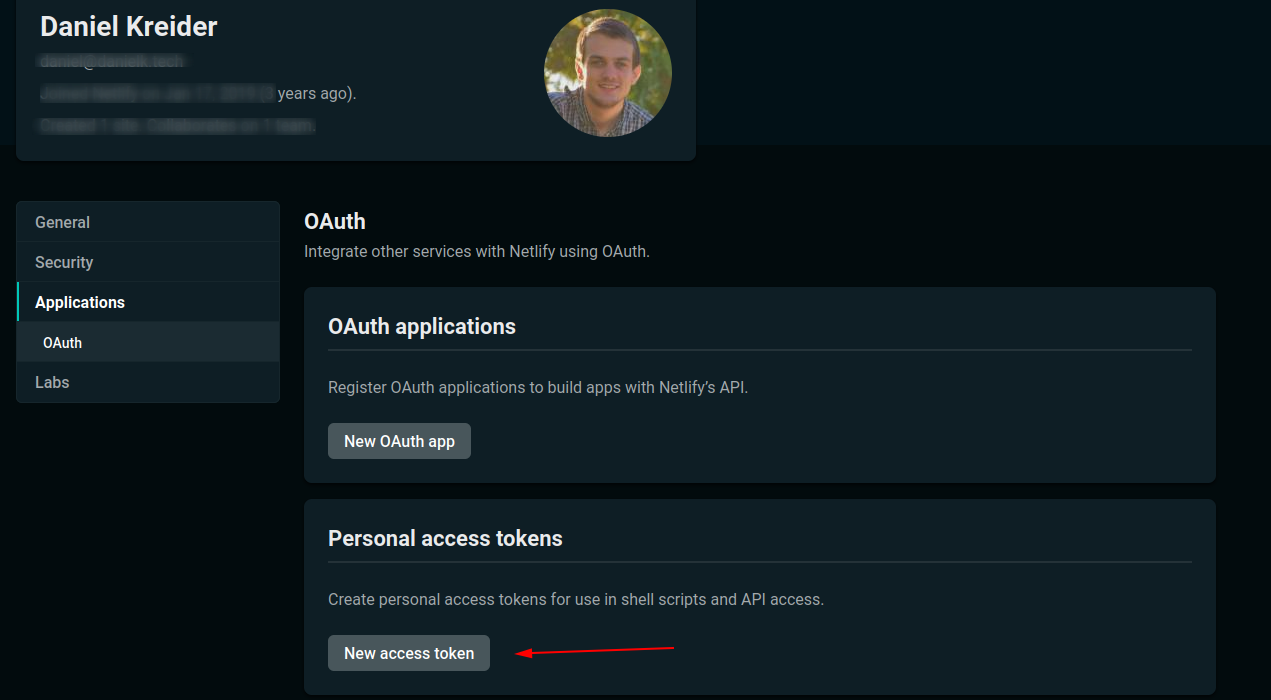
To create a Netlify access token you can click here to go straight to the page or in the Netlify dashboard click on your profile in the top-right corner -> User settings -> Applications -> Personal access tokens -> New access token.
Once you've got the API ID and access token ready then run the following command.
ng add @netlify-builder/deployIt will prompt you for the needed API ID and access token.

You're set!
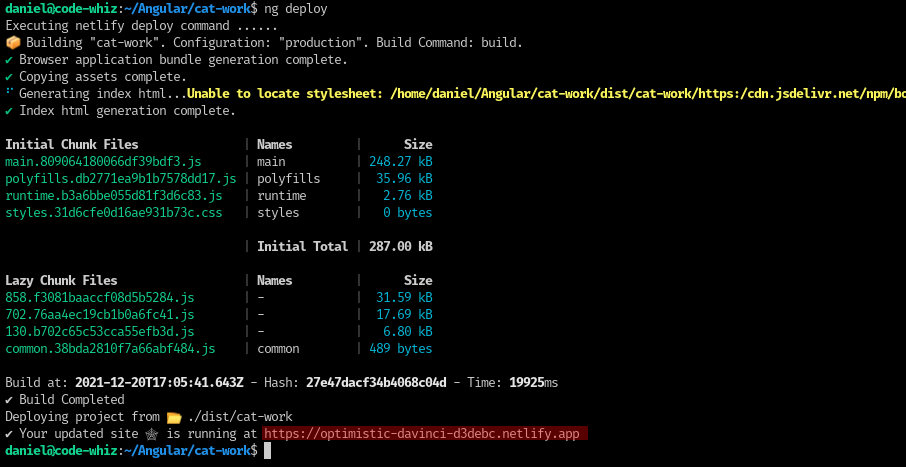
All that's left to do is run ng deploy and your app is live and ready for use on the Netlify servers.
How to Deploy an Angular app to GitHub Pages
Deploying to GitHub pages is as easy as holding and licking a popsicle.
To be able to deploy your Angular project to GitHub pages you must put your project's code in a GitHub repository
Then, install the required deploy package.
ng add angular-cli-ghpagesAnd finally, run the deploy command.
Important Note: You must pass the --base-href parameter with the name of your repository.
ng deploy your-angular-project --base-href=/<repositoryname>/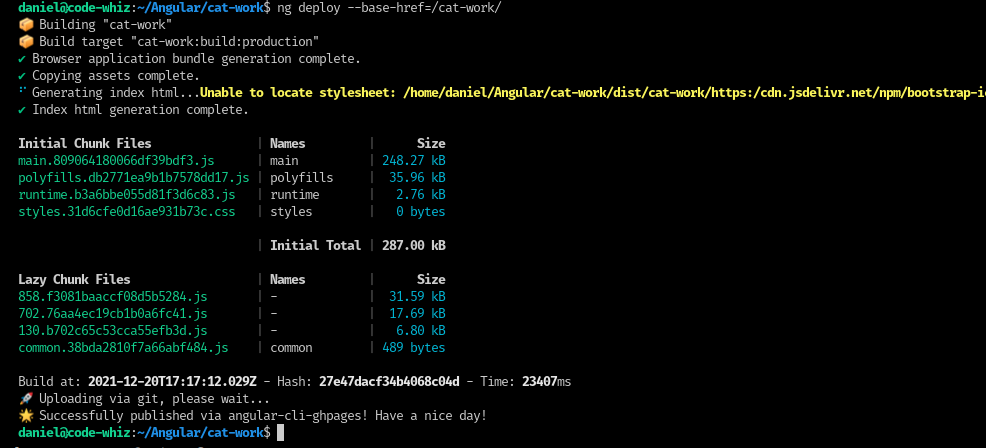
Your project should be available at https://username.github.io/repositoryname. In my case it was https://dkreider.github.io/cat-work.
Want to deploy a comment?
And that my friend is how to deploy your Angular app to production.
What hosting service do you prefer? And why?
Let me know in the comments below.

Angular Consultant
