Angular Firebase Authentication With Google (Easy Guide)
Today you're going to learn how to integrate Google Auth with your Angular app using Firebase.
That's right—I’m going to walk you through exactly how to connect Google Auth with your Angular project, step by step.
Angular + Firebase Authentication = ❤️ ❤️ ❤️
Firebase Authentication is an easy way to replace the hard work of writing a back-end authentication and authorization API for your Angular app.
Let's get started.

Creating our Angular project
For this example, we'll be creating a simple demo project with the Angular CLI called ng-auth.
ng new ng-authCreating the Firebase project
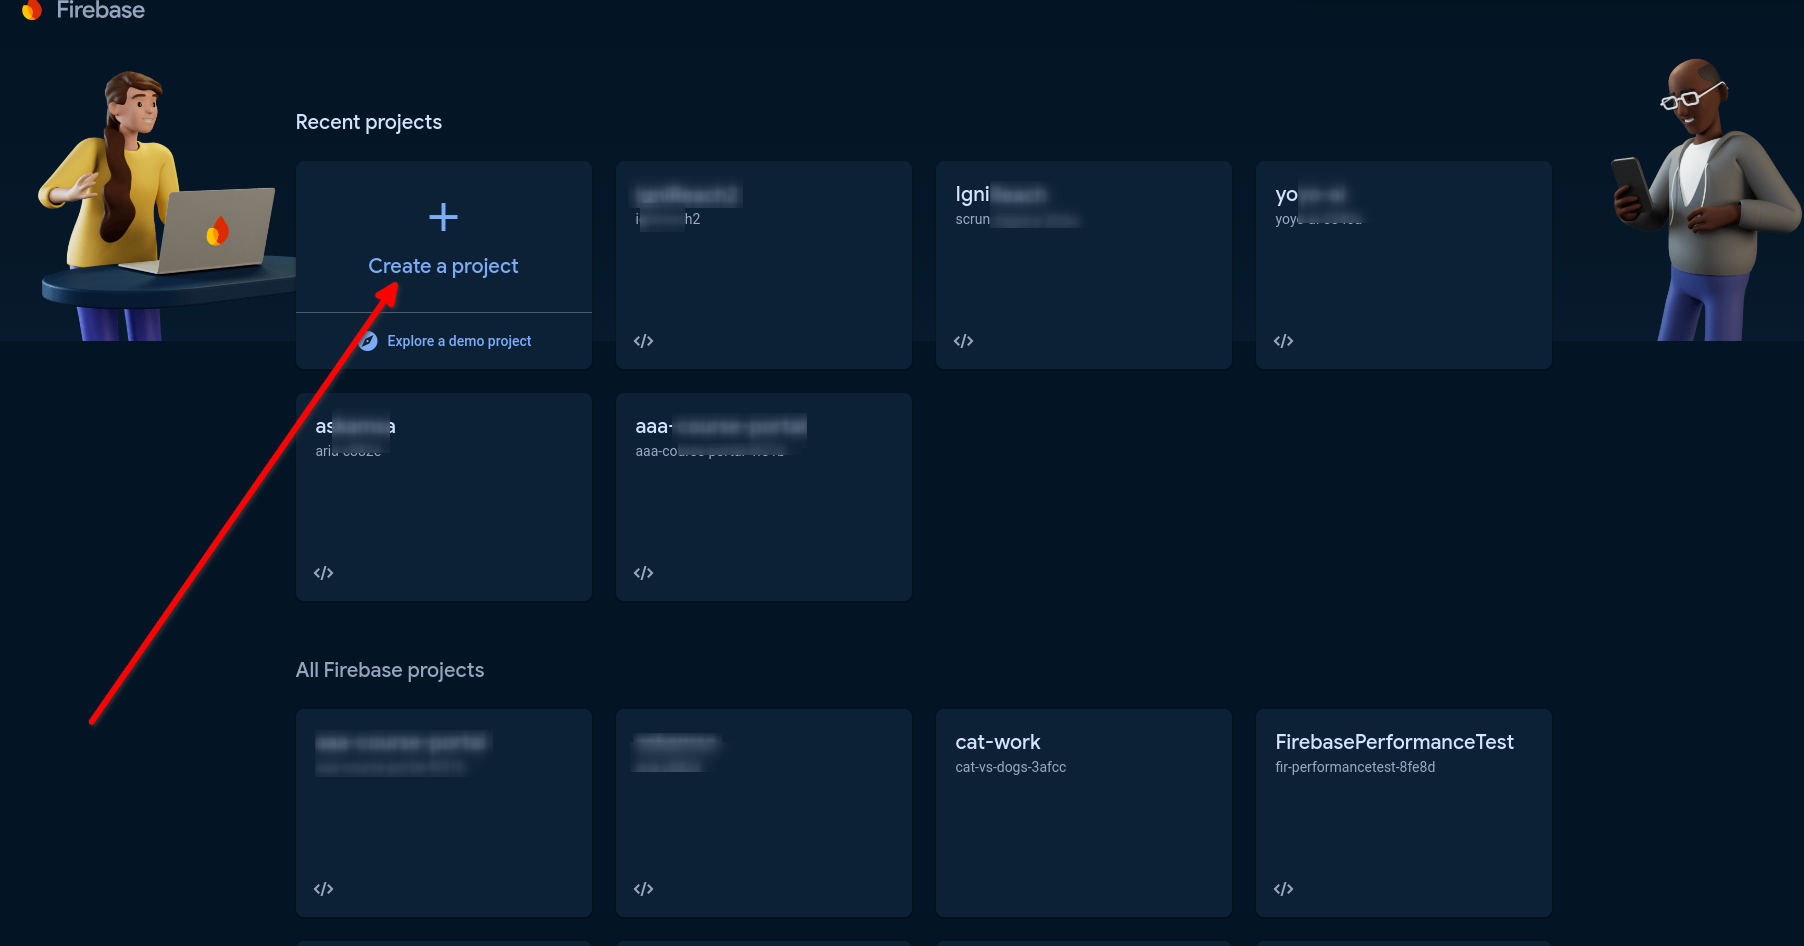
Now that our project is ready, we'll go to the Firebase Console and create a new project.
When you log in you should see a "Create Project" button.

Follow the prompts and create your new Firebase project.
Installing AngularFire
Now we're ready to add the Firebase dependency.
Since this is Angular, we'll use the AngularFire library to integrate Firebase with Angular.
We'll install it like this.
ng add @angular/fireConfigure Firebase (And Firebase Auth)
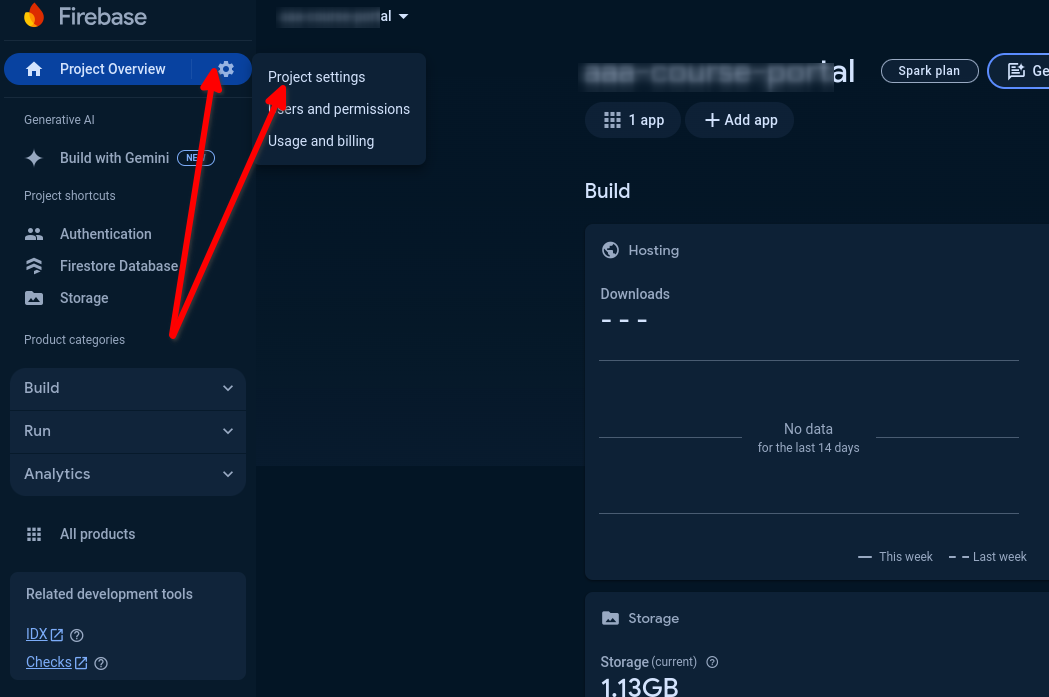
Now, back in the Firebase Console, we need to find the config for our new project.
We'll go into our Firebase project settings in the Console like this.

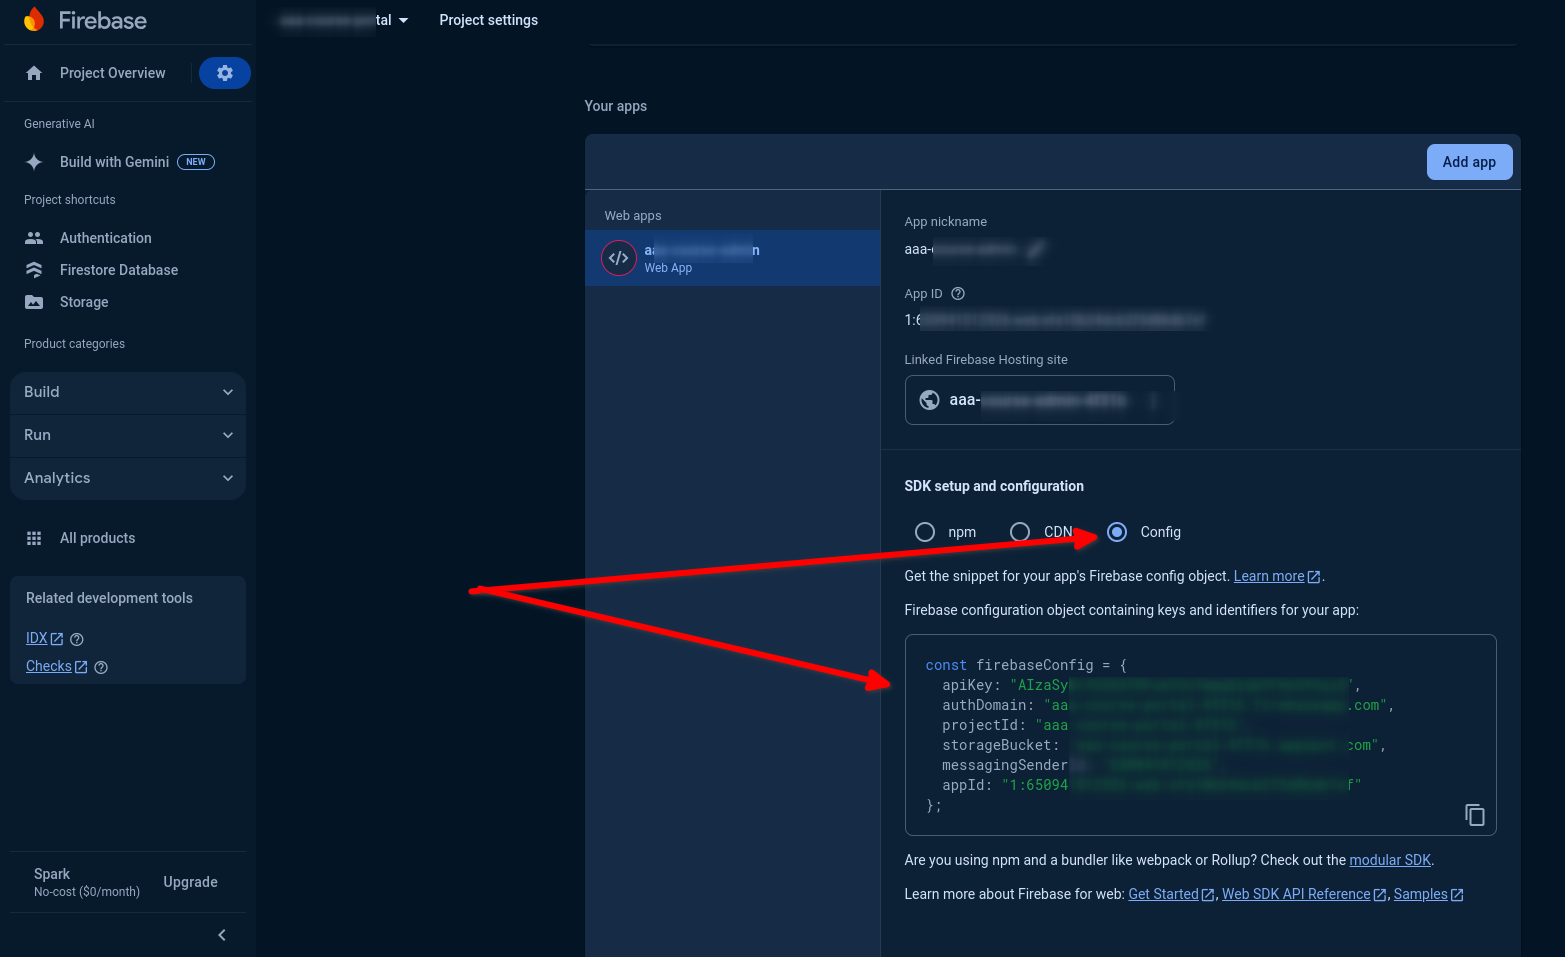
In the General section we'll scroll down and find the config for our web app.
If there is no web app there then click on the Add app button to create one.
And we should be able to select our app config. Like this.

Copy that config and take it back to your app.config.ts file and paste it in as a variable.
Then we'll import our Firebase configurations like this.
import { ApplicationConfig, importProvidersFrom } from '@angular/core';
import { provideRouter } from '@angular/router';
import { provideFirebaseApp, initializeApp } from '@angular/fire/app';
import { getFirestore, provideFirestore } from '@angular/fire/firestore';
import { getAuth, provideAuth } from "@angular/fire/auth";

import { routes } from './app.routes';

const firebaseConfig = {
  apiKey: 'AIzaSyCutXiHV_k6wM8DKzQjNNiVkqzixKJ2ruQ',
  authDomain: 'domain.firebaseapp.com',
  projectId: 'projectid-26dfc',
  storageBucket: 'bucketappspot.com',
  messagingSenderId: '448484',
  appId: 'appid,
};

export const appConfig: ApplicationConfig = {
  providers: [
    provideRouter(routes),
    importProvidersFrom([
      provideFirebaseApp(() => initializeApp(firebaseConfig)),
      provideFirestore(() => getFirestore()),
      provideAuth(() => getAuth()),
    ]),
  ],
};
And now that Firebase has been added to our project we're ready to set up the Google auth login option.
Set up Google Authentication with Firebase
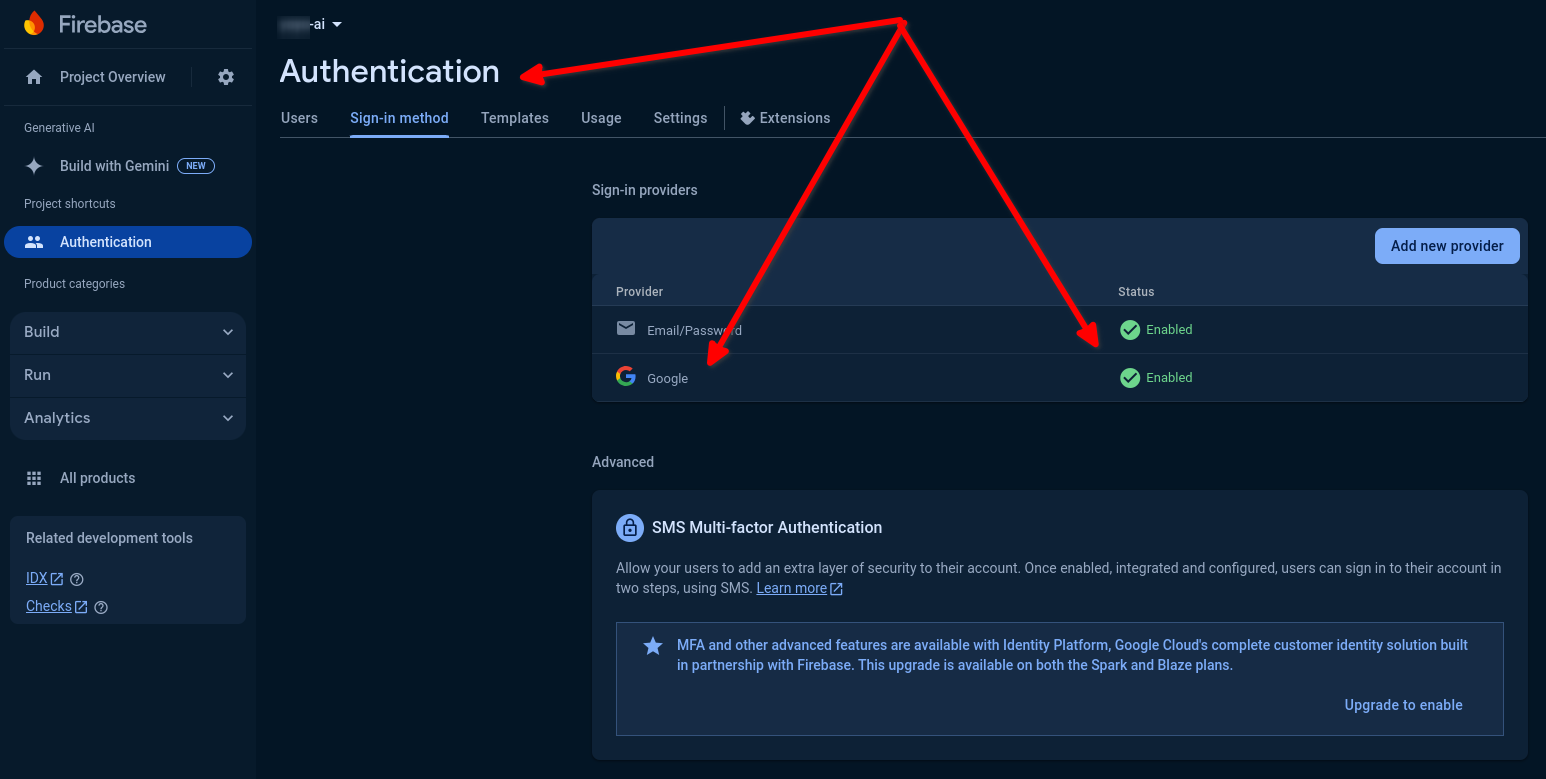
First, we'll have to go to the Firebase console and enable the Google login provider in the authentication options.

Once enabled, we can create a login function for our authentication component like this.
import { CommonModule } from '@angular/common';
import { Component, inject } from '@angular/core';
import { Auth, GoogleAuthProvider, signInWithEmailAndPassword, signInWithPopup } from '@angular/fire/auth';

@Component({
  selector: 'app-login',
  templateUrl: './login.component.html',
  styleUrl: './login.component.css',
  standalone: true,
  imports: [CommonModule]
})
export class LoginComponent {

  auth = inject(Auth);
  router = inject(Router);

  async loginWithGoogle() {
    const provider = new GoogleAuthProvider();
    await signInWithPopup(this.auth, provider);
  }
}
And now, we can call the loginWithGoogle function from our components template. This will launch a pop-up window where our users can log in with their Google account to access our app.
Now that you've set up authentication with Firebase you might want to use the Angular Firebase AuthGuard to secure your Angular app.
Till later,

Daniel Kreider
