Angular & Cypress - The Quick Guide For Beginners
Want to join the crowd and use Cypress to test your Angular app?
It's probably easier than you think.
Did you know that Cypress is cool?
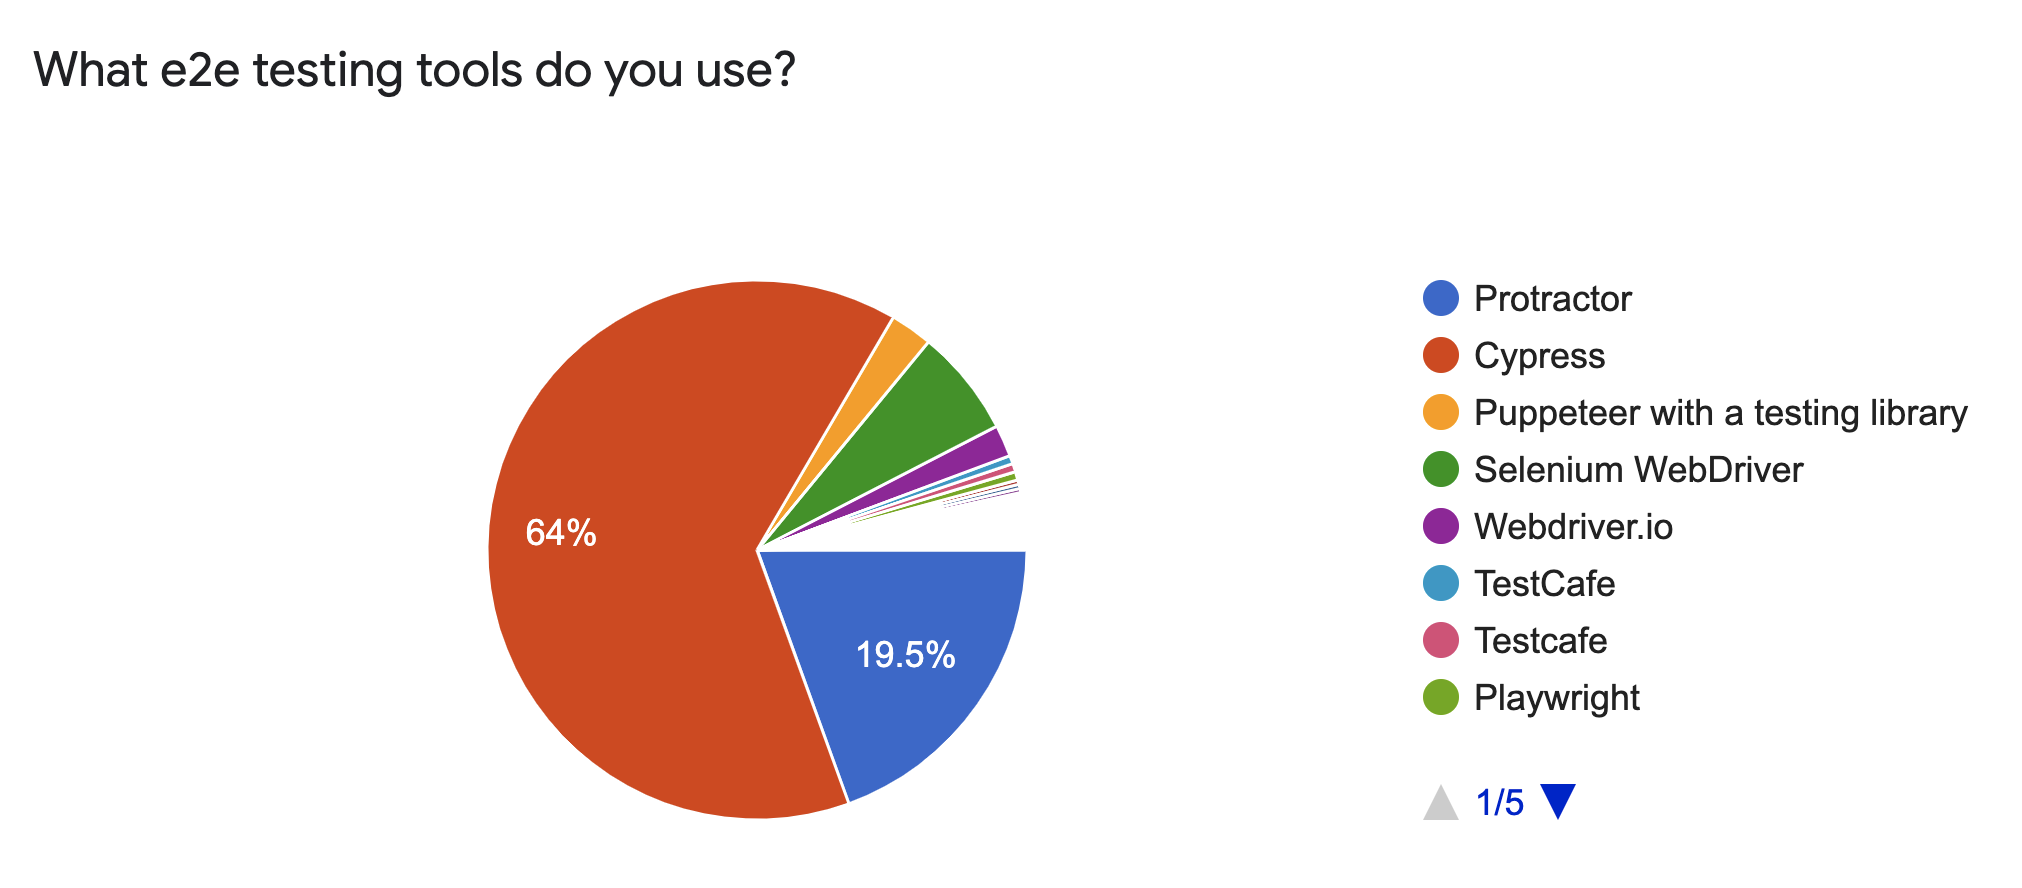
And in a recent survey done by the Angular team, Cypress is by far the most popular tool for testing Angular apps.
Cypress is loaded with all kinds of features.
- Supports Firefox, Chrome & Edge
- All in one inclusive testing framework.
- It is for both develops and QA engineers.
- Has native access to everything.
- Works on any frontend framework or website.
- Written only for JavaScript or Typescript frameworks and libraries.
- Is not flaky like Protractor.
- Has "Time Travel" feature to show what happened at each step of the test.
- Awesome debugging support.
- Supports things like spies, stubs and clocks.
- Automatic waiting feature.
- You can do things like network traffic control.
- Tests like a real user.
- It's reliable and fast.
It has made automated end-to-end testing easier than ever before.
Which leaves us with fewer excuses to create poor quality Angular applications.
But say...
Why not Protractor?
Protractor is losing popularity but does that mean you should ditch it?
The Angular team recently announced plans to end Protractor support. Common complaints were that Protractor didn't test like a real user. That it was hard to trace errors when it fails. And developers often ended up using a lot of console logs to debug problems.
Given these problems and the emergence of tools like Cypress, the Angular team has decided to stop supporting Protractor.
If for some reason you still want to use it then you can read more about how to use Protractor with Angular 12.
But, if you're gonna stick with Cypress (and I recommend you do) then let's start.
How to add Cypress to your Angular project
Most of the blog articles I found use the @briebug/cypress-schematic but it should be noted that package has been deprecated for a while now.
Instead, we'll use the office @cypress/schematic package that's maintained by the Cypress team.
So.
Grab a terminal.
Go to the root directory of your Angular project.
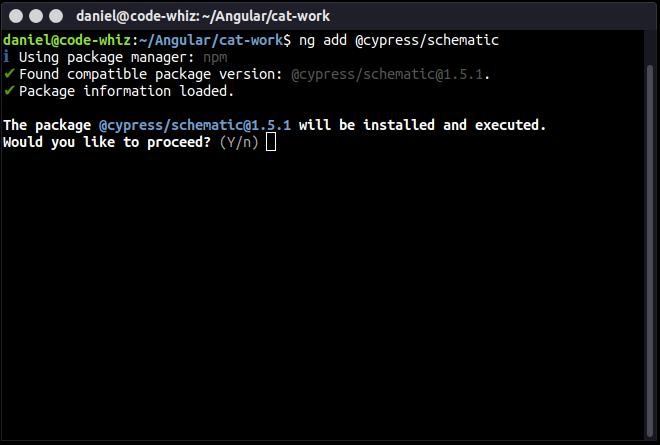
And use the command below to add Cypress to your Angular app.
ng add @cypress/schematicYou'll be asked to confirm that you actually want to proceed.
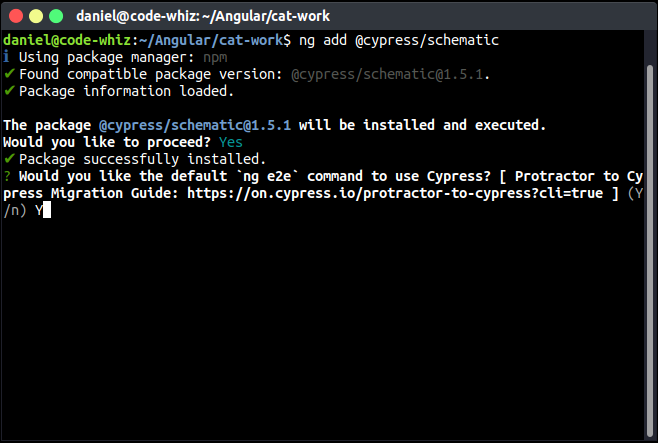
Next you'll be asked if you want to use the default ng e2e command.
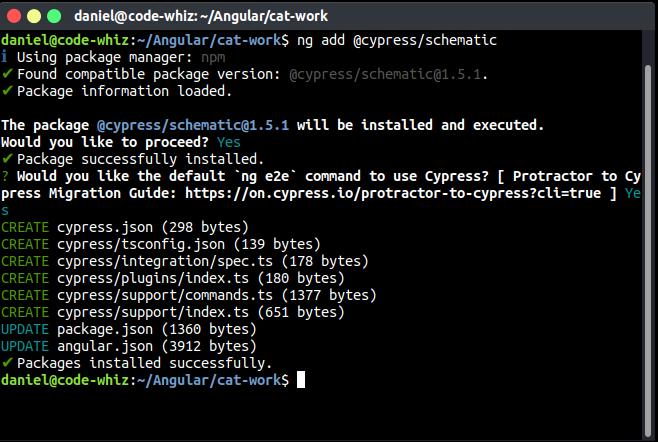
Once done, you should see a success message like this. 💪
Running Cypress for the first time
Now, type ng e2e into the command prompt to make sure that Cypress is ready for use.
Let it compile your Angular project...
Watch it start Cypress...
And...
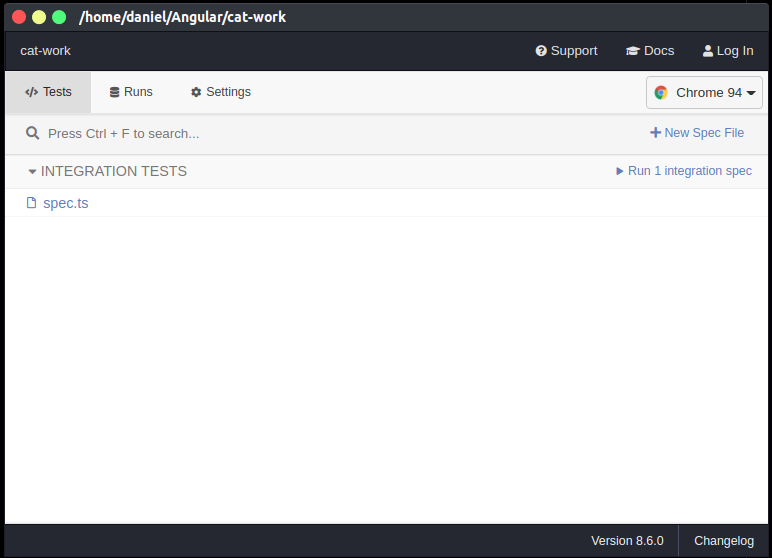
You should see a Cypress window launch. Just like this.
Write your first E2E test with Cypress
Now that Cypress has been installed you should see a new folder called cypress in the root directory of your Angular project. This is the default location for all Cypress config and test files.
The file we're interested in is cypress\integration\spec.ts.
describe('My First Test', () => {
  it('Visits the initial project page', () => {
    cy.visit('/')
    cy.contains('Welcome')
    cy.contains('sandbox app is running!')
  })
});
So what do we have going on here?
First, we use the describe block to create a group of tests.
Next, we use the it function to declare an actual test.
Inside the "Visits the initial project page" test we tell Cypress to visit the home page of the Angular application. And then we use the contains function to see if the page contains the text we're looking for.
Simple, eh?
Conclusion
Cypress can do oodles of things.
And their documentation is hands-down awesome.
Best of all, Cypress makes end-to-end testing easy which allows developers like you and I to write better tests and release high-quality software.
We really have no excuses.
What do you think of Cypress? Or do you have a testing tool that you prefer instead of Cypress?
You can drop your comment below.

Angular Consultant
