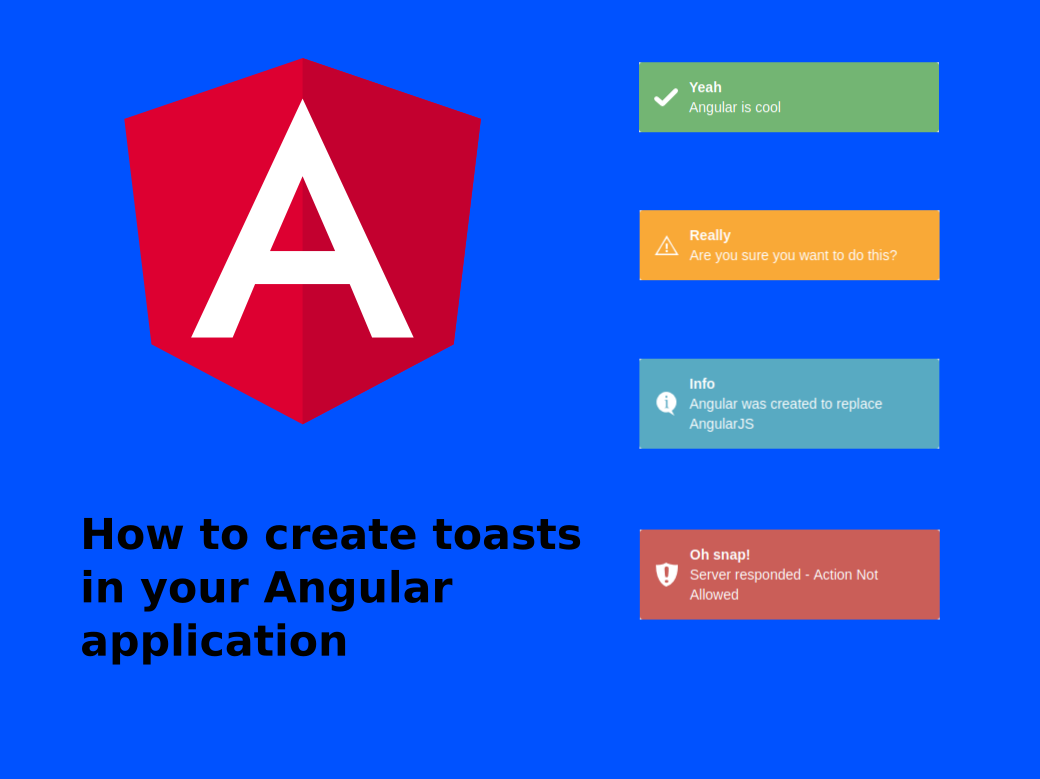
How to add Toastr Notifications to your Angular application
Angular and Toastr Notifications
Here's the complete guide on how to install and use Toastr in your Angular app to create toast notifications
Want to skip the read and get started right away? Then click here.

1. Use the ngx-toastr library
The ngx-toastr library makes it easy to add Toastr notifications to your Angular application.
How does it work?
The Toastr library is an injectable service that you can add to your components and then call it to show toast messages in your Angular application
And with more then 200,000+ downloads per week, it's a juicy notification library for Angular applications. So why not hop on this gravy train and join the crowd?
npm install --save ngx-toastrNext you'll need to add the required CSS styles. If you're using Saas you can import the needed style files into styles.scss like this.
@import '~ngx-toastr/toastr';Or if you're using plain-ole CSS then you'll edit the styles section in your angular.json file. Here's what it should look like.
"styles": [
  "styles.css",
  "node_modules/ngx-toastr/toastr.css"
]
Next you'll import the ToastrModule and BrowserAnimationsModule in your module file. Here's an example.
import { CommonModule } from '@angular/common';
import { BrowserAnimationsModule } from '@angular/platform-browser/animations';

import { ToastrModule } from 'ngx-toastr';

@NgModule({
  imports: [
    CommonModule,
    BrowserAnimationsModule,
    ToastrModule.forRoot(),
  ],
  bootstrap: [App],
  declarations: [App],
})
class MainModule {}
And with it installed and configured, we're ready to roll. Just grab an instance of the ToastrService in your component's constructor and use it to flash Toastr notifications in your Angular application.
import { ToastrService } from 'ngx-toastr';

@Component({...})
export class HelloWorldComponent {
  constructor(private toastr: ToastrService) {}

  success(): void {
    this.toastr.success('This is a success message', 'Tada');
  }
}
Pimple simple stuff. Eh?
The ngx-toastr library is a great choice if you want a quick option.
But if you'd like a more advanced, and possibly more flexible, option then read on. We're gonna pull back the covers and use an entirely different approach to install and use the toastr in your Angular application.
2. Creating our own Toastr service
The first step is to include the required Toastr files in our index.html file. Here's how.
<!doctype html>
<html lang="en">
<head>
  <meta charset="utf-8">
  <title>ToastrDemo</title>
  <base href="/">
  <meta name="viewport" content="width=device-width, initial-scale=1">
  <link rel="icon" type="image/x-icon" href="favicon.ico">
  <link rel="stylesheet" href="https://cdnjs.cloudflare.com/ajax/libs/toastr.js/latest/toastr.css">
</head>
<body>
  <app-root></app-root>
  <script src="https://cdnjs.cloudflare.com/ajax/libs/jquery/3.5.1/jquery.min.js"></script>
  <script src="https://cdnjs.cloudflare.com/ajax/libs/toastr.js/latest/toastr.min.js"></script>
</body>
</html>
Next generate the toast notification service with the Angular CLI.
ng generate service toastrReplace the generated file with the following code.
import { InjectionToken } from '@angular/core';

export let TOASTR_TOKEN = new InjectionToken<Toastr>('toastr');

export interface Toastr {
  success(msg: string, title: string)
  info(msg: string, title: string)
  warning(msg: string, title: string)
  error(msg: string, title: string)
}
In our app.module.ts file we declare a const of type Toastr from our service.
declare const toastr: Toastr;And then import the service into the providers array.
providers: [
    {
      provide: TOASTR_TOKEN,
      useValue: toastr
    }
]
Here's a complete example.
import { BrowserModule } from '@angular/platform-browser';
import { NgModule } from '@angular/core';

import { AppRoutingModule } from './app-routing.module';
import { AppComponent } from './app.component';
import { Toastr, TOASTR_TOKEN } from './toastr.service';

declare const toastr: Toastr;

@NgModule({
  declarations: [
    AppComponent
  ],
  imports: [
    BrowserModule,
    AppRoutingModule
  ],
  providers: [
    {
      provide: TOASTR_TOKEN,
      useValue: toastr
    }],
  bootstrap: [AppComponent]
})
export class AppModule { }
And now that we've wrapped the Toastr library with an Angular service, we can inject it into our components. Here's an example.
import { Component, Inject, OnInit } from '@angular/core';
import { Toastr, TOASTR_TOKEN } from './toastr.service';

@Component({
  selector: 'app-root',
  templateUrl: './app.component.html',
  styleUrls: ['./app.component.css']
})
export class AppComponent {
  title = 'ToastrDemo';

  constructor(@Inject(TOASTR_TOKEN) private toastr: Toastr) {}

  success(message: string): void {
    this.toastr.success(message, "Success");
  }

  info(message: string): void {
    this.toastr.info(message, "Info");
  }

  warning(message: string): void {
    this.toastr.warning(message, "Warning");
  }

  error(message: string): void {
    this.toastr.error(message, "Error");
  }

}
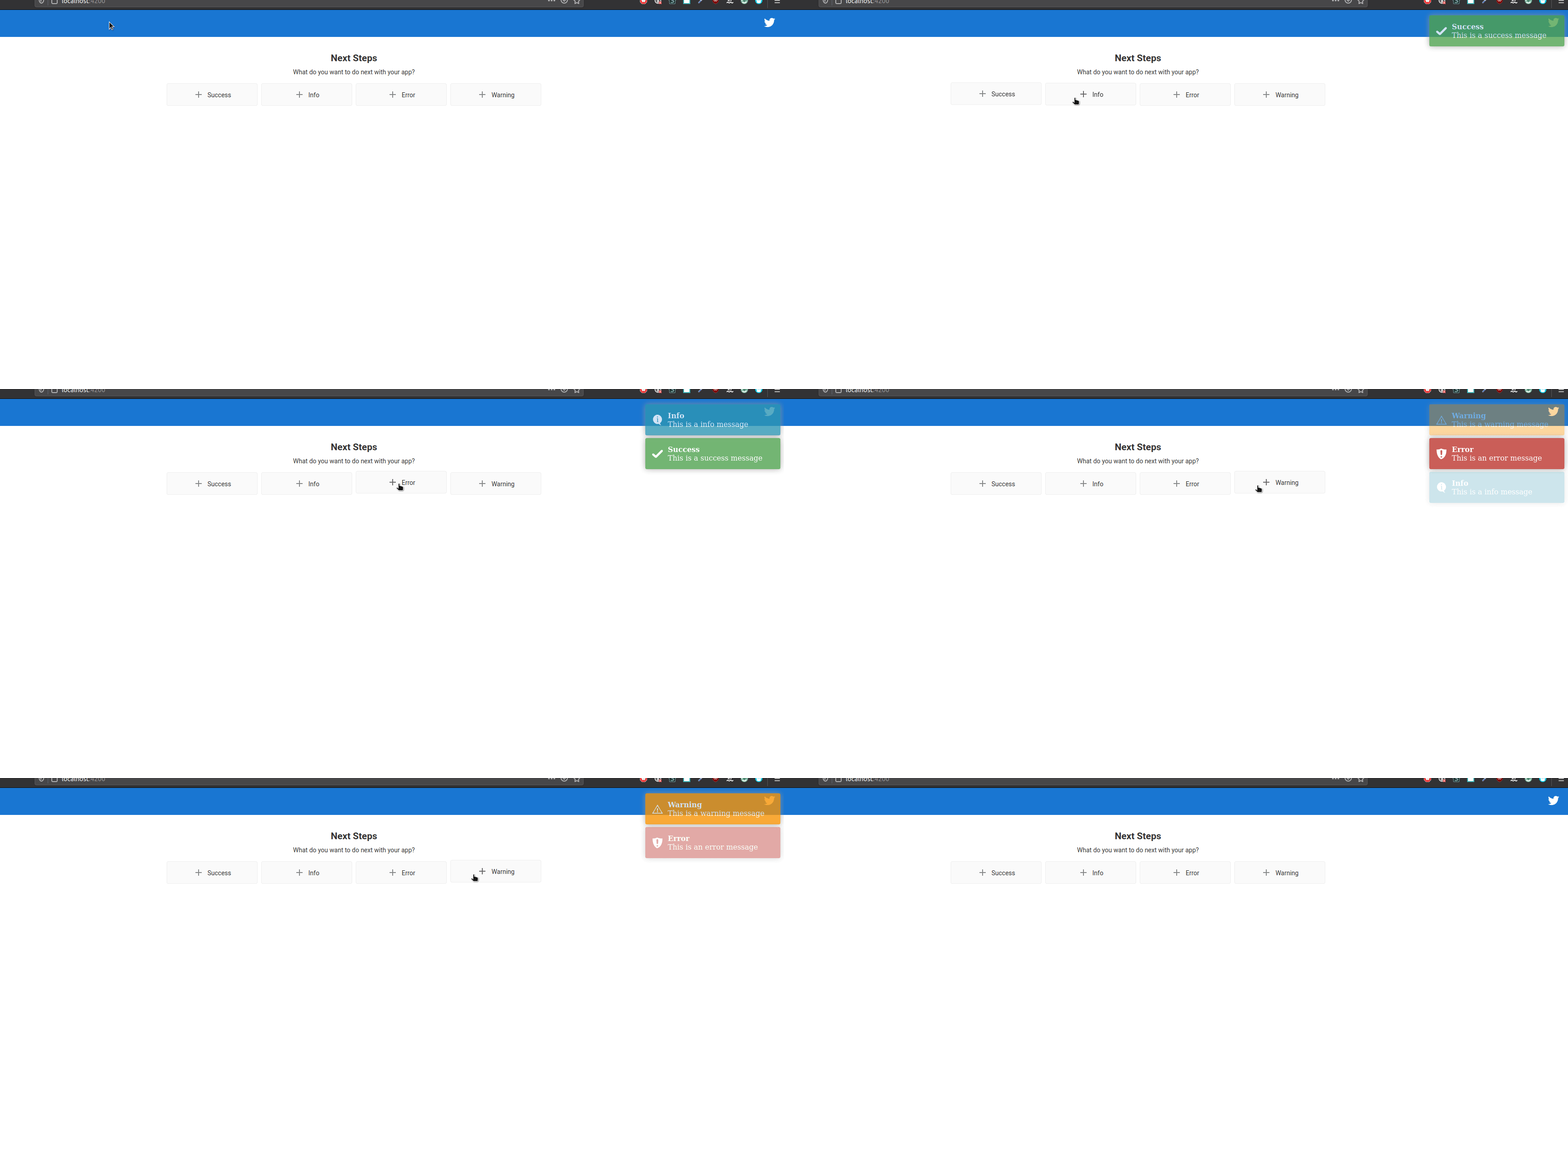
Want to know what it looks like?

Conclusion
We've looked at two different ways you can use to add toast notifications to your Angular application.
The first way is a quickie and usually the best option for most Angular applications. But if you're looking for an advanced approach with the ability to add some custom functionality later, then the second approach is worth considering.
Questions or comments? Don't hesitate to contact me.

Angular Consultant
