Angular Internationalization Using ngx-translate (Guide)
So you want to use different languages in your Angular app?
How do you add different translations to your Angular app?
How do you do Angular internationalization so that your Angular app can be used in different languages and countries?
In this article I'm going to show you how to build an Angular app that supports multiple languages.

1. Create the Angular app
ng new ng-internationalization2. Install the localize package
npm install @ngx-translate/core @ngx-translate/http-loader --save3. Creating the translation files
Now, we'll create two different translation files in the public folder.
The first file will be public/i18n/en.json with this content. This will have the English translation.
{
    "greeting": "Hello, ng-internationalization-demo",
    "sub-greeting": "Angular is awesome!",
    "get-started": "Get started"
}
The second file will be public/i18n/es.json with this content. This will have the Spanish translation.
{
    "greeting": "Hola, ng-internationalization-demo",
    "sub-greeting": "Angular es increíble!",
    "get-started": "Empezar"
}
And obviously, you can follow this pattern for as many languages as you want to add to your Angular app.
4. Configuring the localize module
Now it's time to import the translation module.
Here's how we'll load it in the app.config.ts file.
import { ApplicationConfig, importProvidersFrom, provideZoneChangeDetection } from '@angular/core';
import { provideRouter } from '@angular/router';

import { routes } from './app.routes';

import {TranslateLoader, TranslateModule} from '@ngx-translate/core';
import {TranslateHttpLoader} from '@ngx-translate/http-loader';
import {provideHttpClient} from '@angular/common/http';
import { HttpClient } from '@angular/common/http';

function HttpLoaderFactory(http: HttpClient) {
  return new TranslateHttpLoader(http, '/i18n/', '.json');
}

export const appConfig: ApplicationConfig = {
  providers: [provideZoneChangeDetection({ eventCoalescing: true }), provideRouter(routes),
    provideHttpClient(),
    importProvidersFrom(
      TranslateModule.forRoot({
        defaultLanguage: 'en',
        useDefaultLang: true,
        loader: {
          provide: TranslateLoader,
          useFactory: (HttpLoaderFactory),
          deps: [HttpClient]
        }
      })
    )
  ]
};
And now we're ready to start translating.
5. Dynamically translating greeting
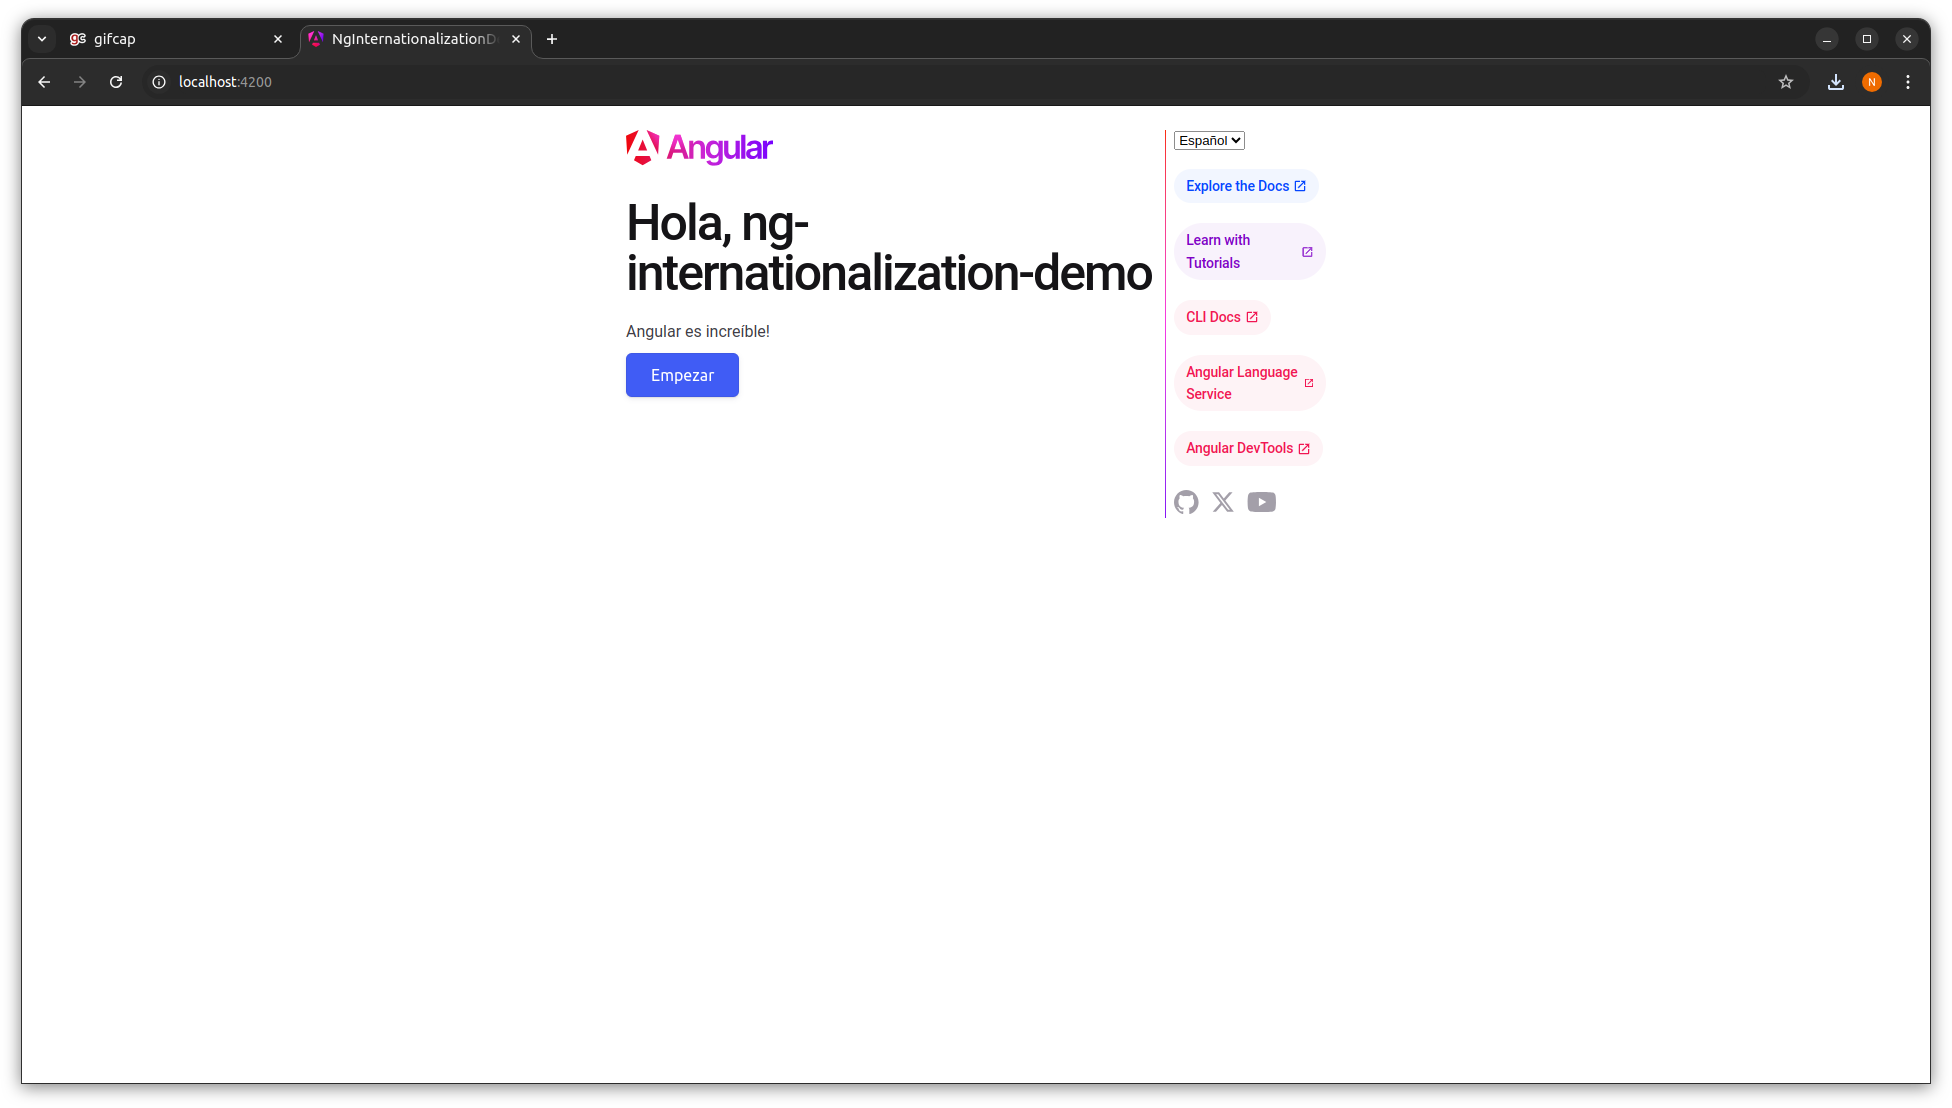
Now we're ready to add the content to our app. In this case it will be a simple heading, subheading and button that we will later dynamically translate to English and Spanish.
<h1>{{ 'greeting' | translate }}</h1>
<p>{{ 'sub-greeting' | translate }}</p>
<button>{{ 'get-started' | translate }}</button>
We will be doing three things to the app.component.ts file.
- Importing the
TranslateModulein the imports array. - Injecting the
TranslateService - Adding a function to dynamically set the language.
Here's the code.
import { CommonModule } from '@angular/common';
import { Component, inject } from '@angular/core';
import { RouterOutlet } from '@angular/router';
import { TranslateModule, TranslateService } from '@ngx-translate/core';

@Component({
  selector: 'app-root',
  standalone: true,
  imports: [RouterOutlet, TranslateModule, CommonModule],
  templateUrl: './app.component.html',
  styleUrl: './app.component.scss'
})
export class AppComponent {
  language = 'en';
  languages = [
    { value: 'en', label: 'English' },
    { value: 'es', label: 'Español' },
  ];

  languageService = inject(TranslateService);

  setLanguage(event: any) {
    this.languageService.use(event.target.value);
  }
}
Now, we'll add a select with our language options.
<select (change)="setLanguage($event)">
    @for (language of languages; track $index) {
    <option [value]="language.value">{{ language.label }}</option>
    }
</select>
And you're done!

Daniel Kreider - Angular Developer & Consultant
