
Here's how to rapidly create Typescript models and HTTP clients for your frontend Angular application 👉
I'll teach you how to automatically generate API clients and interfaces for your Angular application.
And potentially save yourself heaps of time. 🥳
Any Angular developer worth their dough uses the power of Typescript to create data models for their HTTP requests.
What do I mean?
I mean that instead of doing this...
getAllApps(): Observable<any[]> {
    return this.httpClient.get<any[]>(this.appsUrl);
}
...you do something like this. Where App is a data model that you cast HTTP responses too.
getAllApps(): Observable<App[]> {
    return this.httpClient.get<App[]>(this.appsUrl);
}
In fact, the Angular docs has an entire section about using typed responses. You can check it out here.
Introducing the problem
So, you've got a small project with a few interfaces or models that you cast too. Not bad, my friend.
But as your project grows you'll find that maintaining these models is... well... like having to wear a mask every time I walk into Walmart. 😷
Uncomfortable and just a plain pain.
One of the smaller projects I work on only has 15 interfaces that I cast too, and every time a change is made in the data model of the API server I have to find it in my Angular application and update it there too.
Wouldn't it just be the coolest-dandiest-tickler to automatically generate Typescript interfaces from my back-end models?
Actually, someone already asked about this on Stack Overflow.
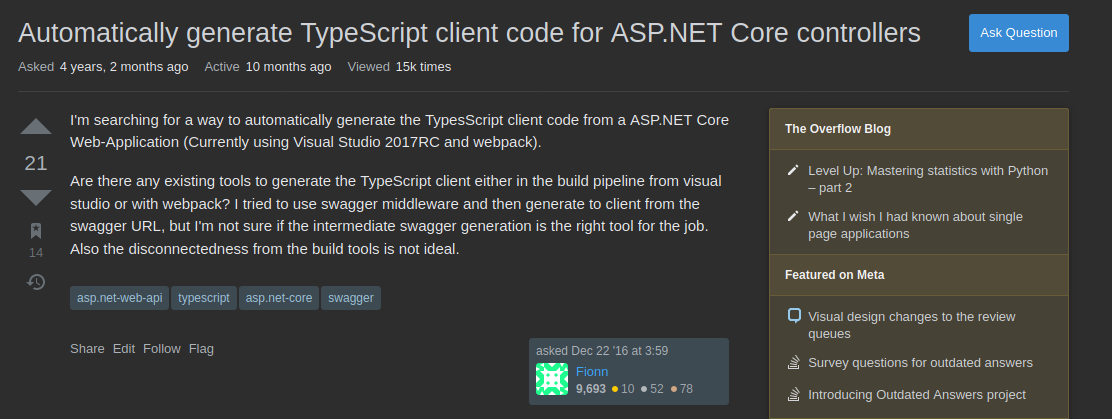
And wha-da-ya-know? There's a tool for the job. Yes my friend, it's called Swagger Codegen.
Swagger Codegen can be used to generate client SDK's from an API specification.
So how does this work?
Keep on reading, buster, and I'll teach you how to generate interfaces and even a client SDK for your Angular application.
Adding Swagger to .NET Core API Server
Assuming you have a .NET Core API server, the first step is to install Swagger UI.
If you already installed and configured Swagger, then you can skip to the next step. Otherwise, here's how we do it.
Install the Swagger package.
If you're the hard-core geeky person that likes the command line, then here's the command you need.
dotnet add package Swashbuckle.AspNetCoreOtherwise, you can open the Package Manager in Visual Studio and install it that way.
Configure Swagger UI
Open the Startup.cs file in your .NET Core project and add Swagger Generator to the available services in the ConfigureServices function.
public void ConfigureServices(IServiceCollection services)
{
    // ... other services
    services.AddSwaggerGen();
}
And last of all, in the Configure function, we'll add Swagger to our application.
public void Configure(IApplicationBuilder app, IWebHostEnvironment env)
{
// ... other code
app.UseSwagger();
app.UseSwaggerUI(c =>
{
c.SwaggerEndpoint("/swagger/v1/swagger.json", "API Description Here");
});
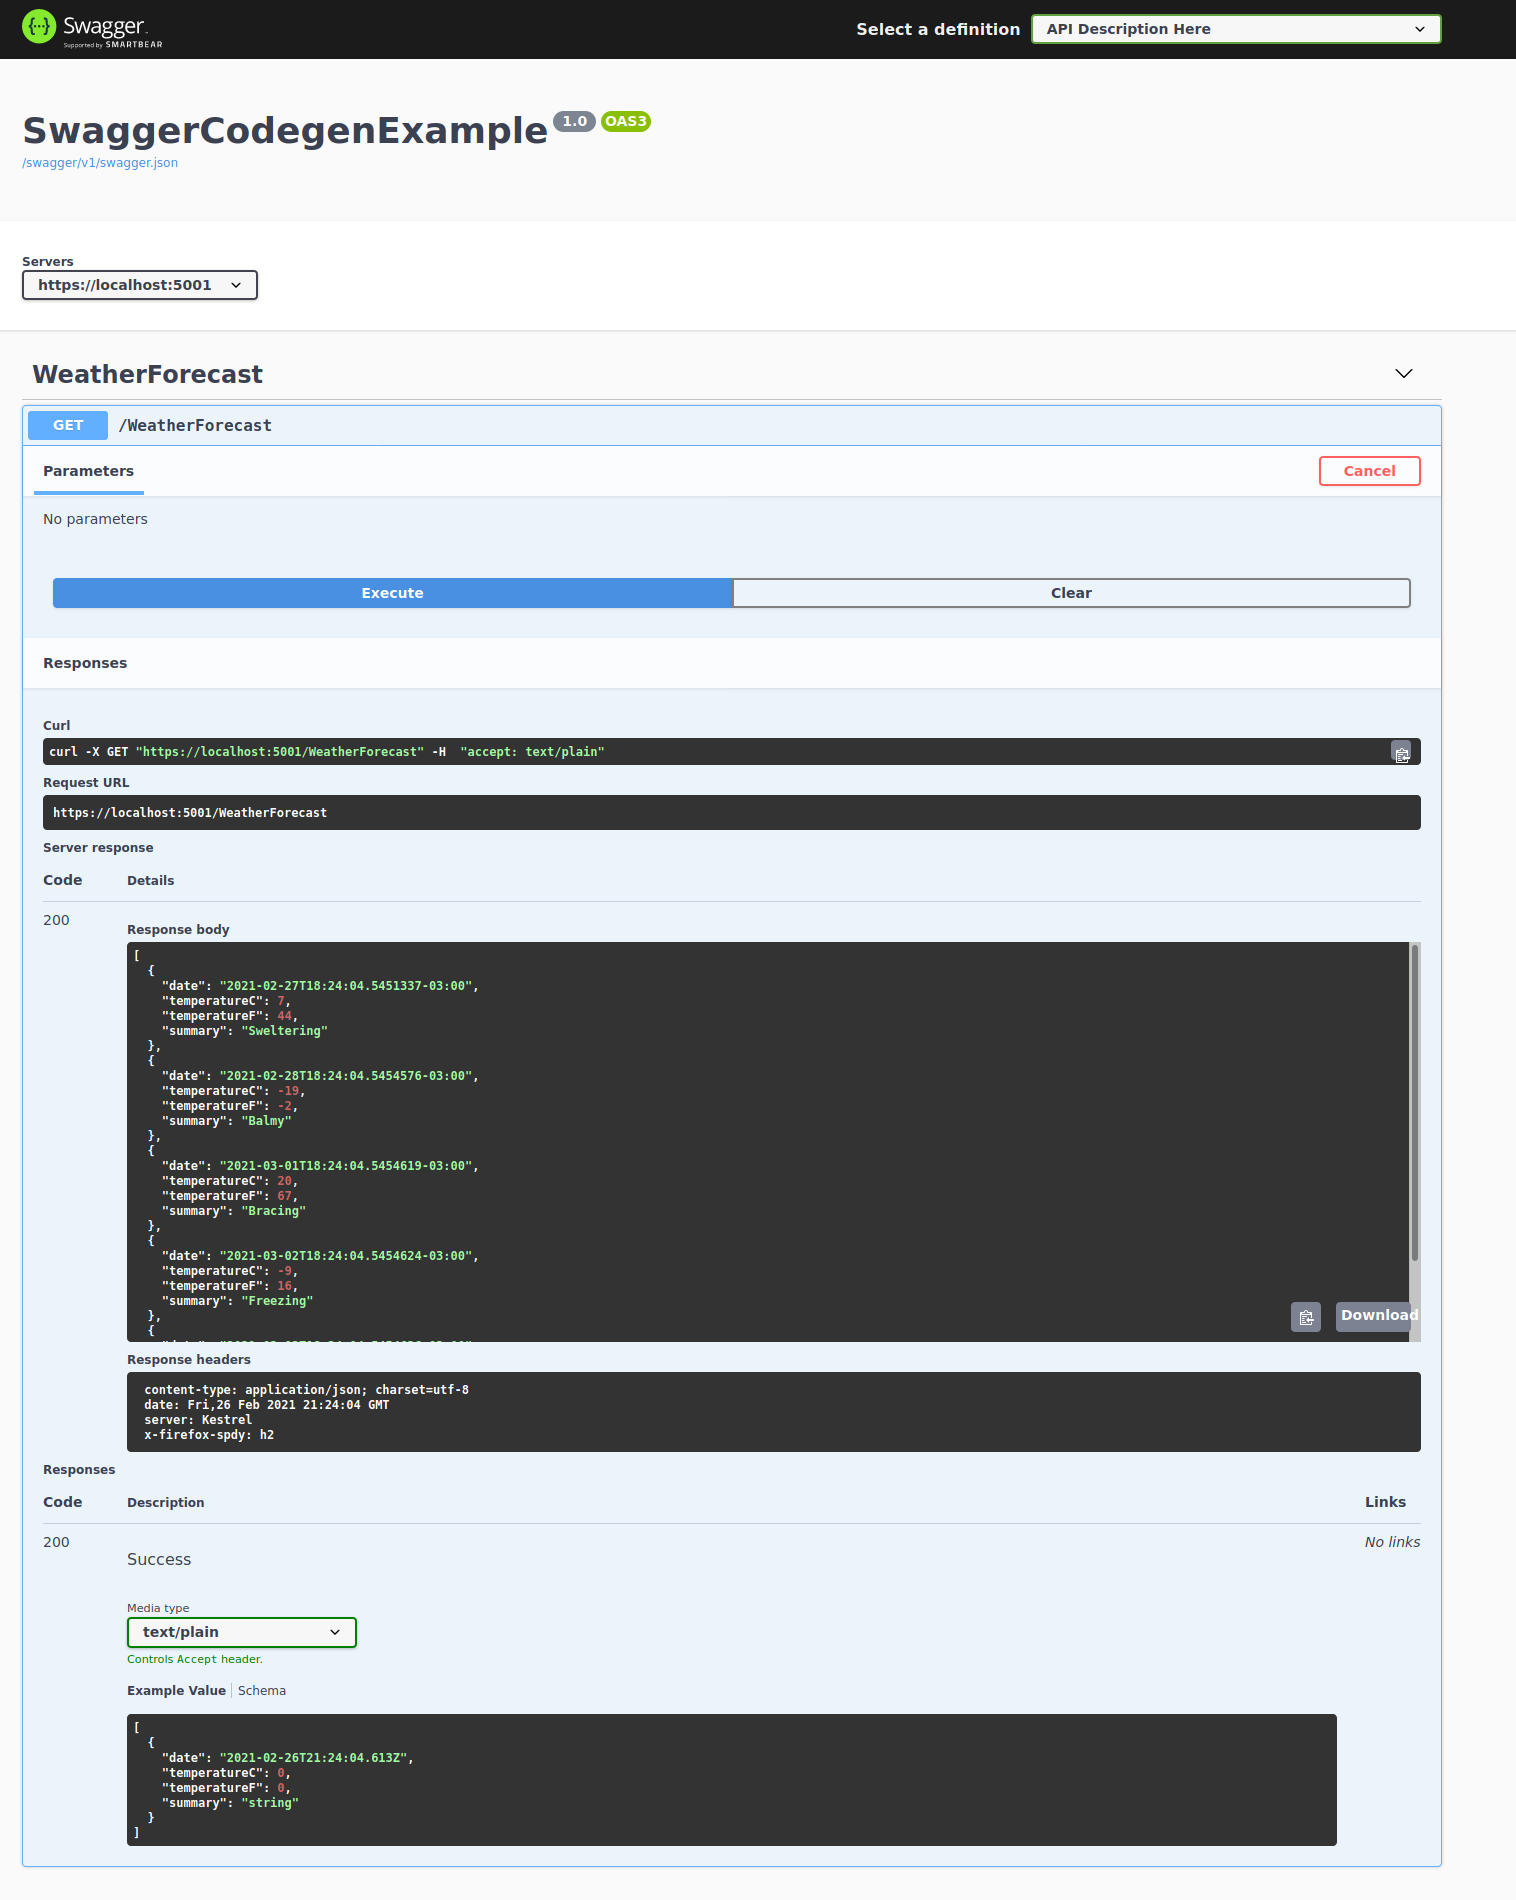
}Now, run your application and then go to https://localhost:5001/swagger/index.html in your browser and you should see a beautiful UI generated from your current API.
If you want to learn more about Swagger UI and it's siblings than the Microsoft docs have a complete article about it all.
Using Swagger Codegen CLI to automatically generate an API SDK for your Angular application
Next, head over to your Angular project. We'll need to install the OpenAPI Generator CLI as a dev dependency.
npm i @openapitools/openapi-generator-cli --save-devWith that installed, open the package.json file and add a script to generate a client SDK from our back-end API server. Here's what it looks like.
"scripts": {
// ... other scripts
"generate-client-sdk": "mkdir src/libs/api-client && openapi-generator-cli generate -i http://localhost:5000/swagger/v1/swagger.json -g typescript-angular -o src/libs/api-client"
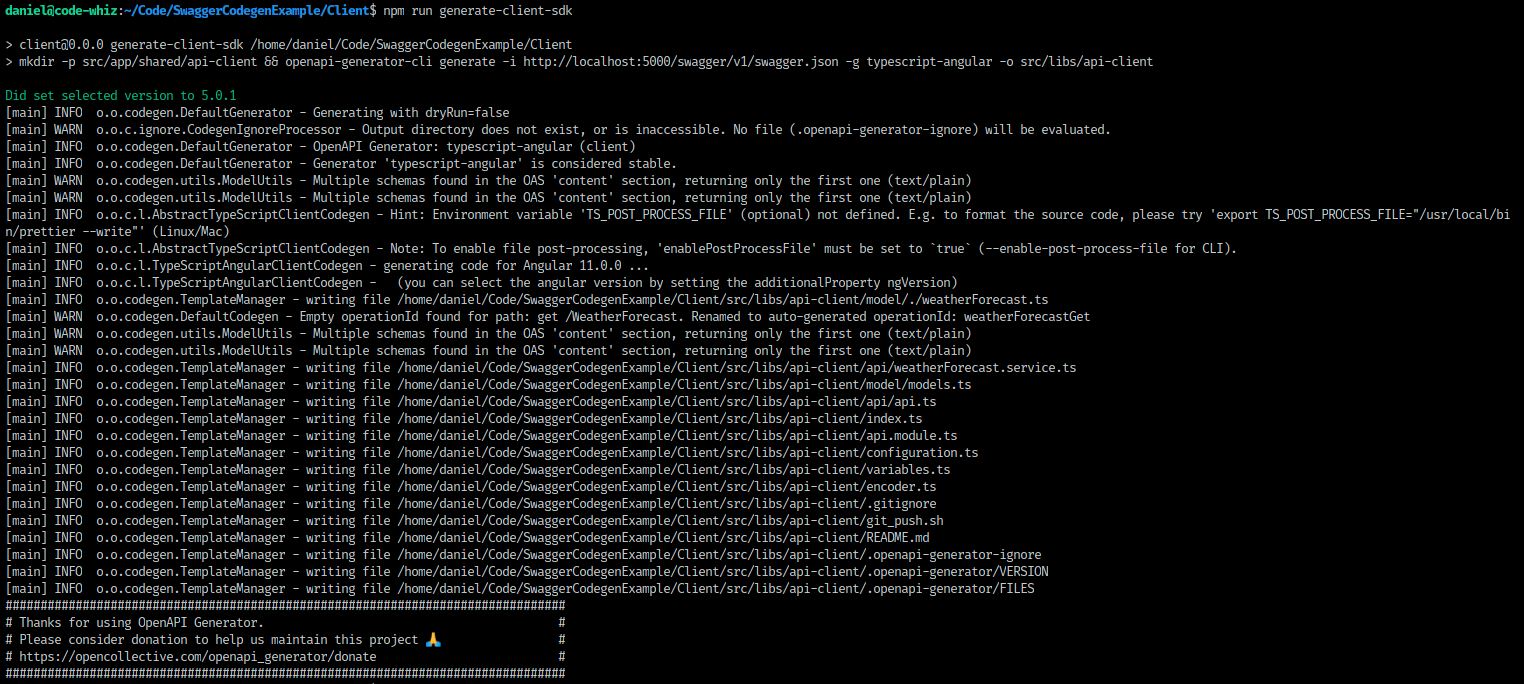
},And then run it like this.
npm run generate-client-sdkAnd watch it automatically generate the Typescript interfaces and HTTP client from your .NET Core API server. 🙀
Now, we'll demonstrate how to use the generated SDK by creating a new weather component.
ng new component weatherOpen the weather.component.ts file and import the generated WeatherForecastService and then call the get function in ngOnInit.
import { Component, OnInit } from '@angular/core';
import { Observable } from 'rxjs';
import { WeatherForecast, WeatherForecastService } from 'src/libs/api-client';

@Component({
  selector: 'app-weather',
  templateUrl: './weather.component.html',
  styleUrls: ['./weather.component.css']
})
export class WeatherComponent implements OnInit {

  weatherForecast: Observable<WeatherForecast[]>;

  constructor(private weatherService: WeatherForecastService) { }

  ngOnInit(): void {
    this.weatherForcast = this.weatherService.weatherForecastGet();
  }

}
And then we'll edit the weather.component.html file to display the weather data from our generated client SDK.
<table>
    <thead>
        <th>Date</th>
        <th>Temperature C</th>
        <th>Temperature F</th>
        <th>Summar</th>
    </thead>
    <tbody>
        <tr *ngFor="let day of weatherForecast | async">
            <td> {{ day.date | date}} </td>
            <td> {{ day.temperatureC }} </td>
            <td> {{ day.temperatureF }} </td>
            <td> {{ day.summary }} </td>
        </tr>
    </tbody>
</table>
When we display the component, this is what it looks like.
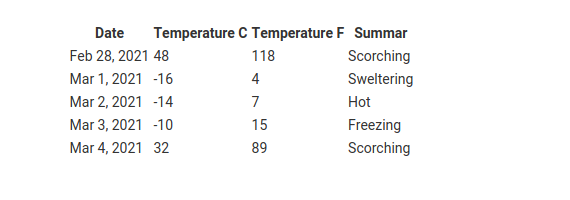
A little ugly? Yeah, I know. But beauty isn't the point of this article.
Conclusion
Buster, do you realize what we just did?
Using Swagger Codegen to generate a client SDK for your Angular application has the potential of saving you days of time.
And before I run off, let me make one last thing clear.
This article is a basic demo and I've skipped a lot of best practices, with the expectations that you're a smart whiz and can take the ideas above and customize and improve them. They're yours for the stealing so please take them.
Questions? Comments? Problems? Don't hesitate to contact me.

Angular Consultant