The quick guide to supporting ng add (code examples included)
How to create a ng add schematic for your Angular library in less than 5 minutes.
Even if you have no idea where to start.

What are we going to learn?
- What are Angular schematics anyway?
- The benefits of adding support for the
ng addcommand to your Angular library. - Creating the
ng addschematics for your Angular library. - How to publish your Angular library with
ng addsupport to npm.
Today I'm going to show you how to support the ng add command - this will make it easier to install your Angular library and give it a better image.
It's a feature that I found very handy when building my own ngx-loading-buttons library.

So, if you want your Angular library to support the ng add command then read on.
What are Angular schematics?
Angular schematics is a sensational feature that lets you dump a bunch of dynamite into your Angular project and light the fuse.
💥 💥 💥
Really??
That might be a bit exaggerated, and although schematics don't include dynamite sticks they are a cool feature. Here's what the Angular documentation says about Angular schematics.
A schematic is a template-based code generator that supports complex logic. It is a set of instructions for transforming a software project by generating or modifying code. Schematics are packaged into collections and installed with npm. Source
Schematics collections can be used for creating or modifying Angular projects. They can be created to customize your Angular project in a way that suits you best like generating custom components, common patterns and other pre-defined items that are specific to your organization.
They're really handy when it comes to enforcing project structure and guidelines.
Benefits of using the ng add schematics
It's not uncommon to run across an Angular library that doesn't support the ng add command.
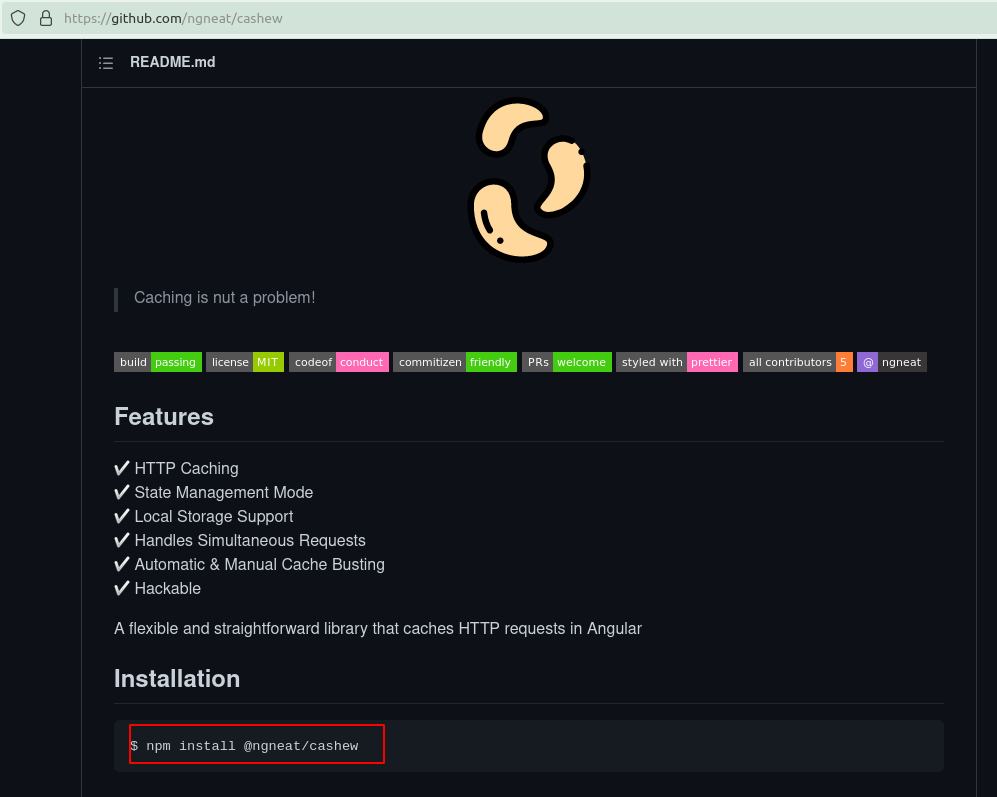
For a quick example, the well-known cashew library for flexible HTTP caching has to be installed with npm install and can't be installed with ng add.

This is actually fine for many Angular libraries.
But what about when a library requires some custom configuring, imports, etc... before it can function properly?
This is where creating a schematic for ng add really shines.
Take for example the Angular Material library. It supports the ng add schematic and the documentation says to install it with ng add.
ng add @angular/materialAnd when it's finished downloading the library it will prompt you with a few questions about...
- What theme you want to use.
- If you want to import the browser animations module.
- And more.
This makes it quicker for users to start using the Angular Material library without having to edit files themselves.
And the easier your library is to use the more developers will prefer it over other options out there.
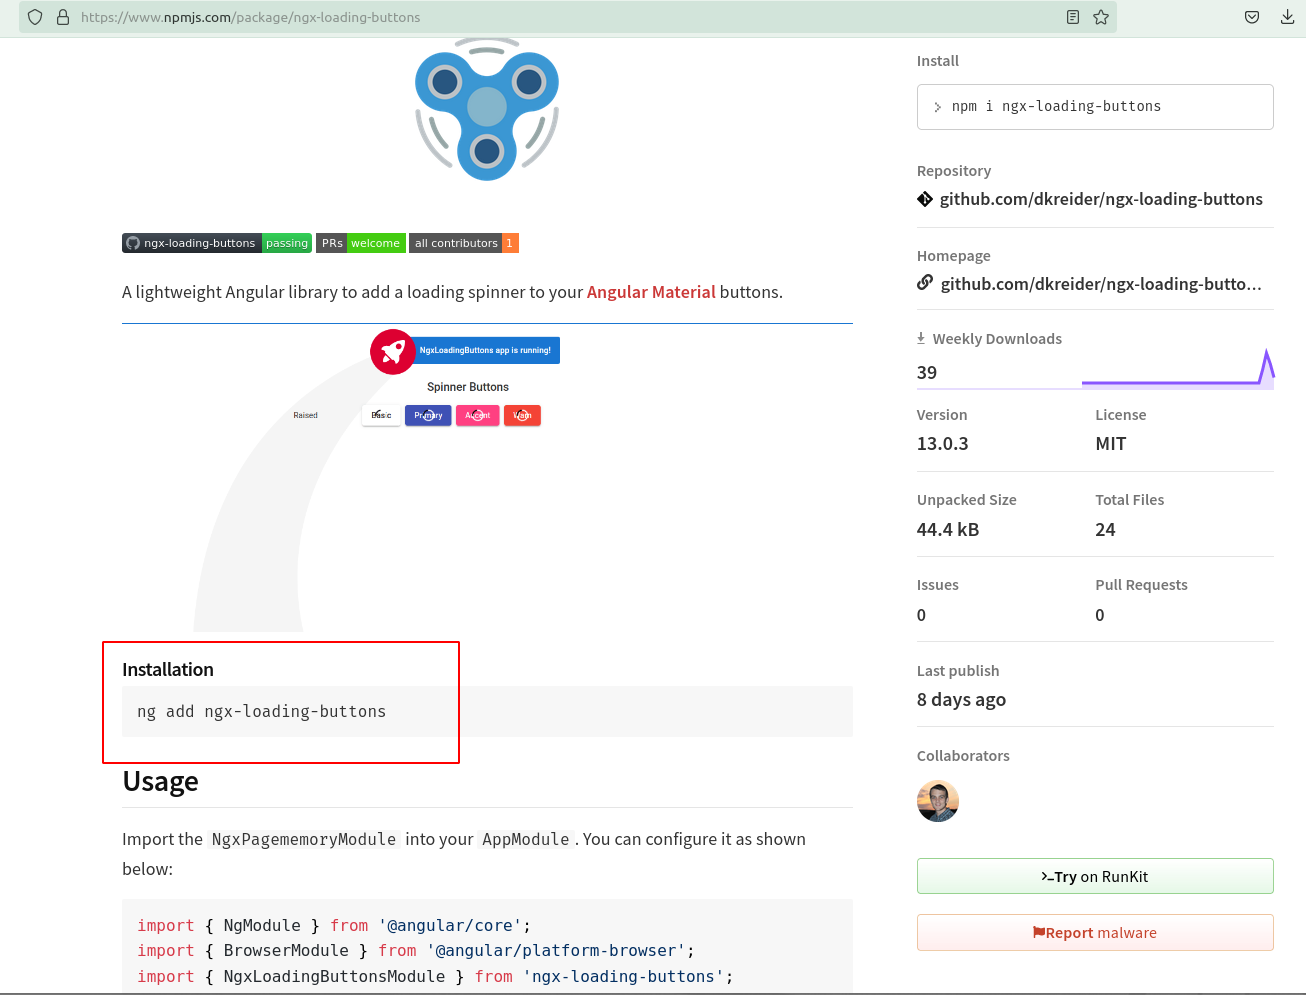
Another example is the ngx-loading-buttons library that is used to add a loading spinner to Angular Material buttons.
It requires a CSS file and uses an Angular schematic to automatically import the dependency instead of asking developers to manually import it after installing with NPM.
Creating the ng-add schematic
So how do we create an Angular schematic to support the ng add command?
And improve the usability of your Angular library?
Here are the first 3 steps.
- Create a schematics folder inside the root folder of our library.
- And inside the new folder create another folder named ng-add.
- Finally, inside the ng-add folder create a new file named
ndex.ts.
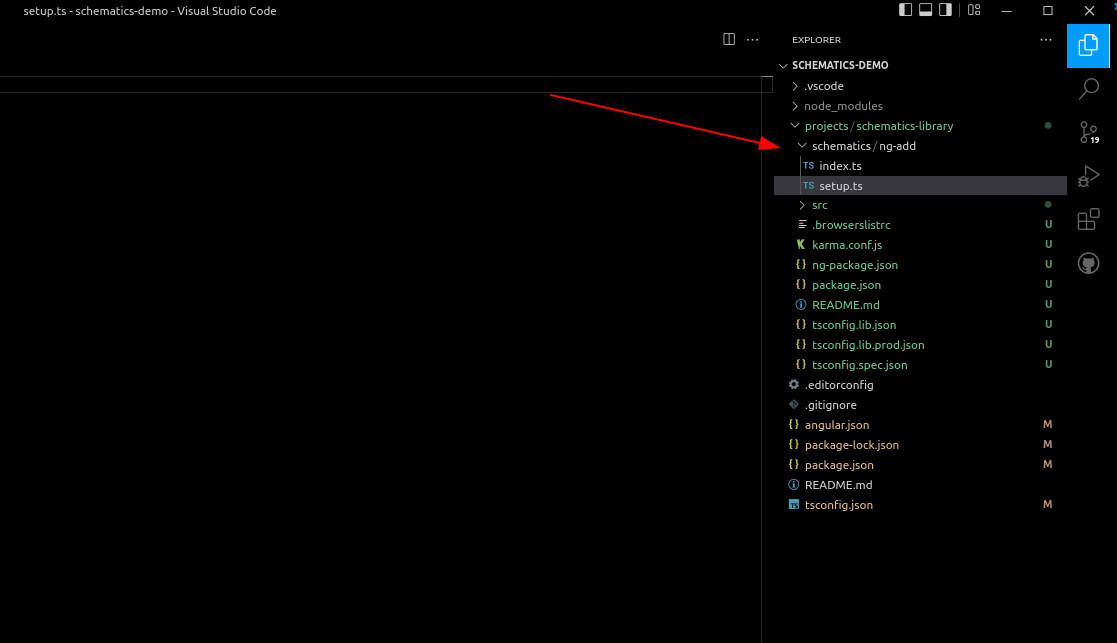
Here's a demo screenshot of what your project structure should look like.

The next step is to open the package.json file and declare a new peer-dependency on the @angular/cdk library like this.
{
  "name": "schematics-library",
  "version": "0.0.1",
  "peerDependencies": {
    "@angular/common": "^13.3.0",
    "@angular/core": "^13.3.0",
    "@angular/cdk": "^13.3.0"
  },
  "dependencies": {
    ...
  }
}
Back to the index.ts file that you just created, here is the code. It declares a new ngAdd function that returns a task that will install your Angular library.
import { Rule, SchematicContext, Tree } from '@angular-devkit/schematics';
import { NodePackageInstallTask, RunSchematicTask } from '@angular-devkit/schematics/tasks';

export function ngAdd(): Rule {
  return (tree: Tree, context: SchematicContext) => {
    context.addTask(new NodePackageInstallTask());
    return tree;
  };
}
The next step is to create a file named collection.json inside your schematics folder. This is the file that is used to describe the various schematics. Here's the content for it.
{
    "$schema": "../../../node_modules/@angular-devkit/schematics/collection-schema.json",
    "schematics": {
      "ng-add": {
        "description": "Add ngx-loading-buttons to the project.",
        "factory": "./ng-add/index#ngAdd"
      }
    }
}
We've got one more step left.
And that is to make sure our schematics gets declared inside the package.json file and also deployed with the rest of the files. Otherwise, the ng add {package-name} command won't know what to do with our package.
Here's what we need to add to our package.json.
{
  "name": "library-name",
  "version": "0.0.0",
  "peerDependencies": {
      ...
  },
  "scripts": {
    "build": "tsc -p tsconfig.schematics.json",
    "postbuild": "copyfiles schematics/*/schema.json schematics/*/files/** schematics/collection.json ../../dist/{library-name}/"
  },
  "schematics": "./schematics/collection.json",
  "devDependencies": {
    "copyfiles": "file:../../node_modules/copyfiles",
    "typescript": "file:../../node_modules/typescript"
  },
  "ng-add": {
    "save": "dependencies"
  }
}
Publishing your ng-add schematic with your Angular library
Finally, we need to publish your Angular library to NPM.

The first step is to build it.
I like to use a package.json script like the one below.
{
  "name": "ngx-library",
  "version": "0.0.0",
  "scripts": {
    "build:ngx-loading-buttons": "ng-packagr -p projects/{library-name}/ng-package.json && cd projects/{library-name} && npm run build",
  },
  "dependencies": {
    ...
  },
  "devDependencies": {
      ...
  }
}
Once built the final step is to...
cd dist/library-namenpm publish
...and your Angular package is now available to the world.
Best of all it supports the ng add schematic. 🎉
Final schemes
Now... I'd like to hear from you in the comments below.
Was this article about Angular schematics and how to support the ng add command hard to understand?
Are you going to add the ng add schematics to your Angular library? Or do you plan to skip that for now?
Either way, let me know in the comments below.

Angular Consultant
